- Decor
Kitchen Makeover On a Budget
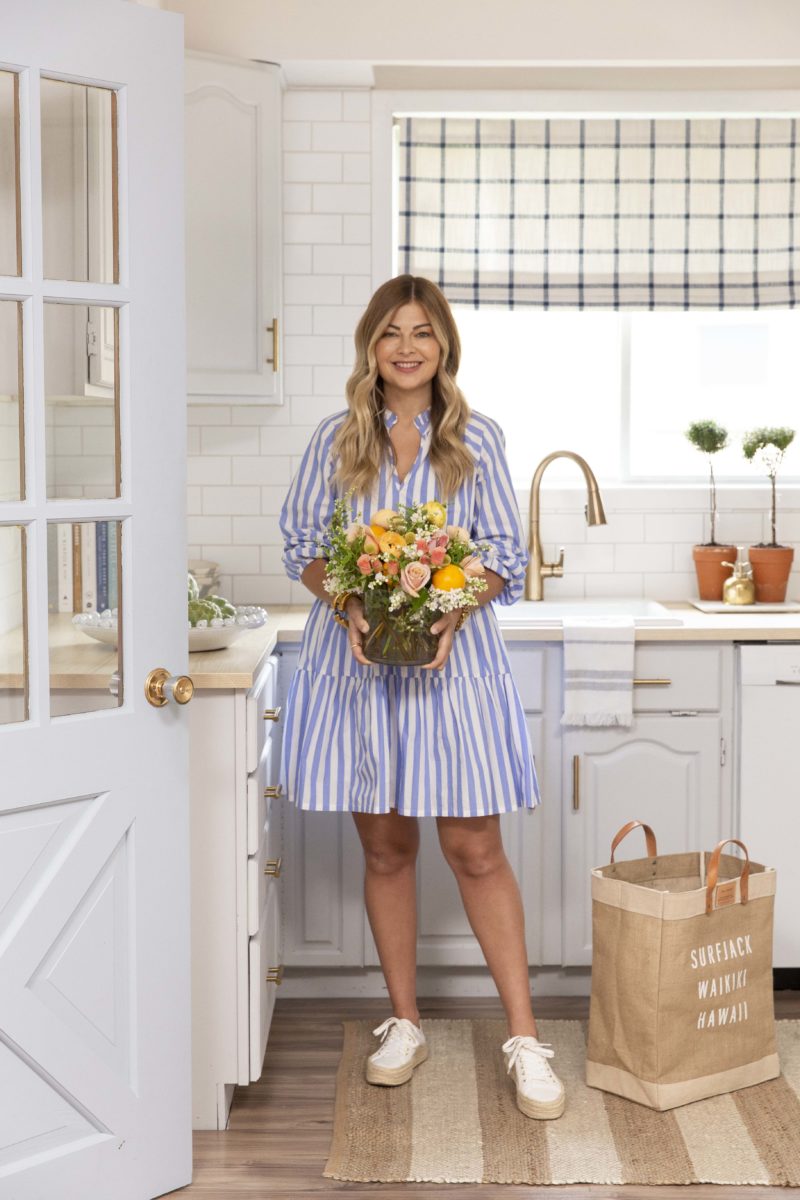
I can’t believe I’m finally writing these words: our kitchen renovation is done! Truthfully, most of this project has been wrapped for sometime but there were a few finishing touches we were waiting on to officially call this space complete.
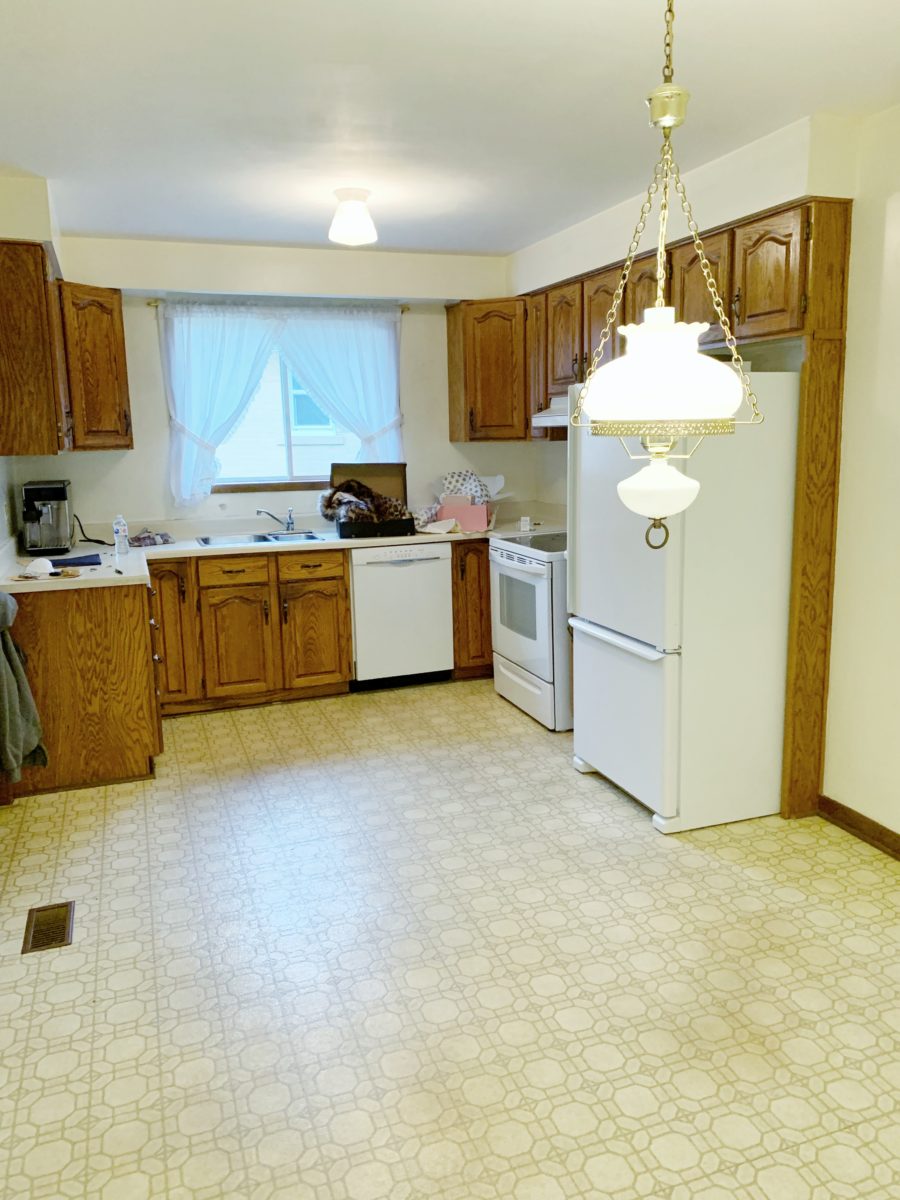
Rewind to late 2018 when Adam and I purchased this house on a bit of a whim. Truth be told, we had no intention of ever moving into this house but after a few bottles of rose and liquid confidence, we decided that we could move in, complete the renovations ourselves and do it on a budget of a few thousand dollars. The plan is to either tear this house down or sell the lot and move on but in the interim – we had to make it livable.
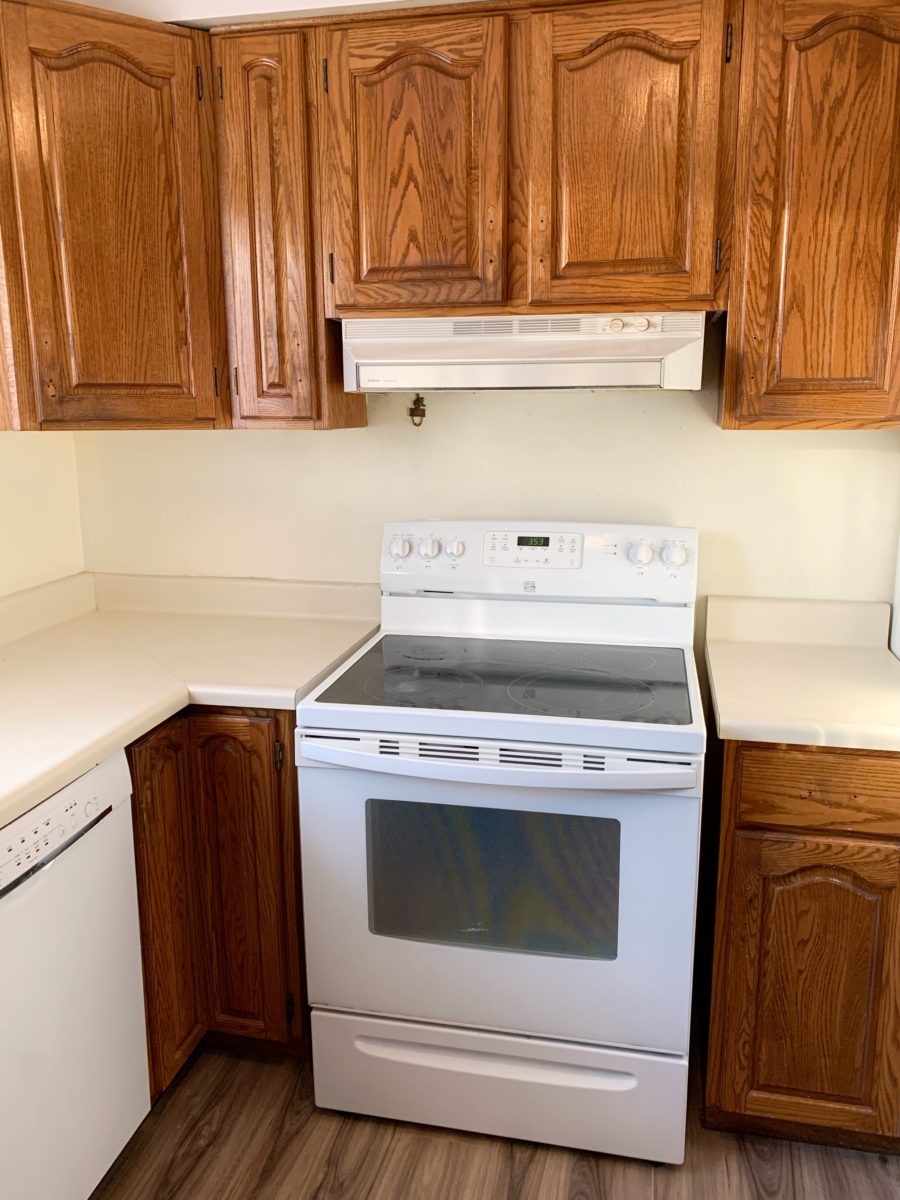
To give you an idea of what I was working with: here’s the before of our space. Thankfully, the family who sold the house were European and graciously left us a gritty working kitchen in the basement and a polished, almost untouched, kitchen on the main floor.
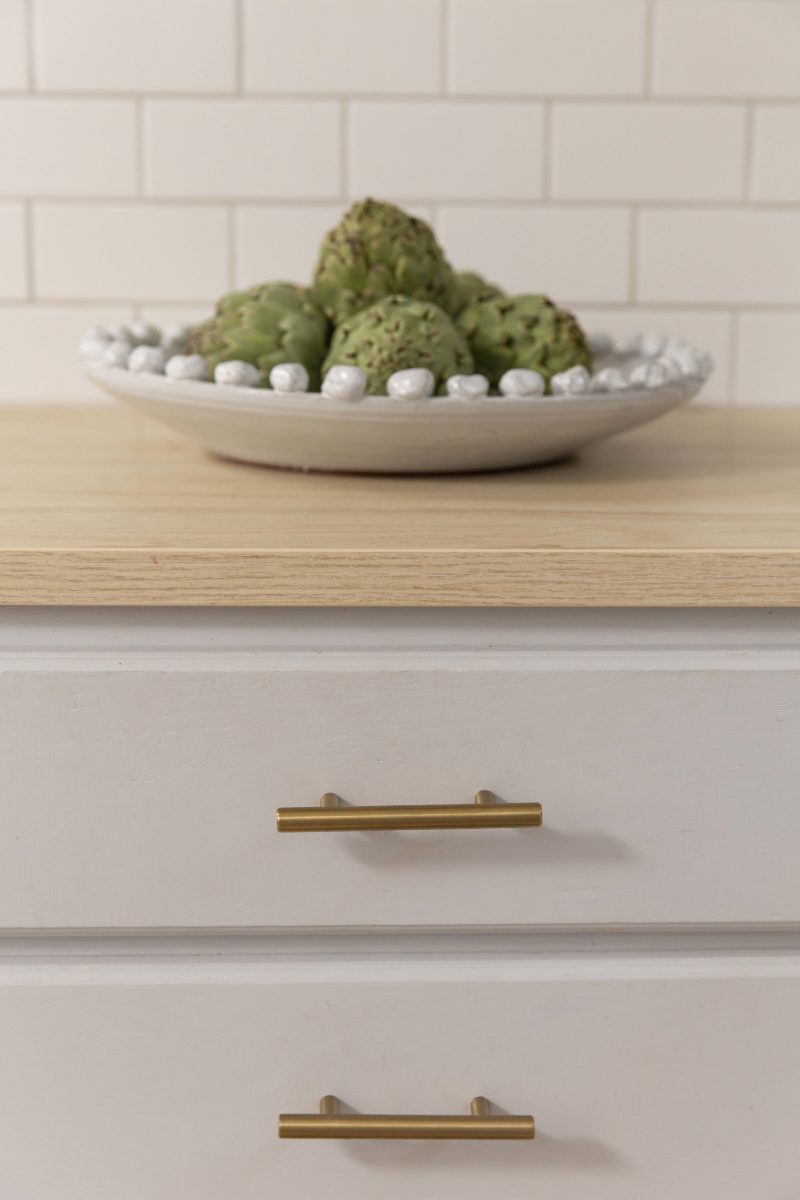
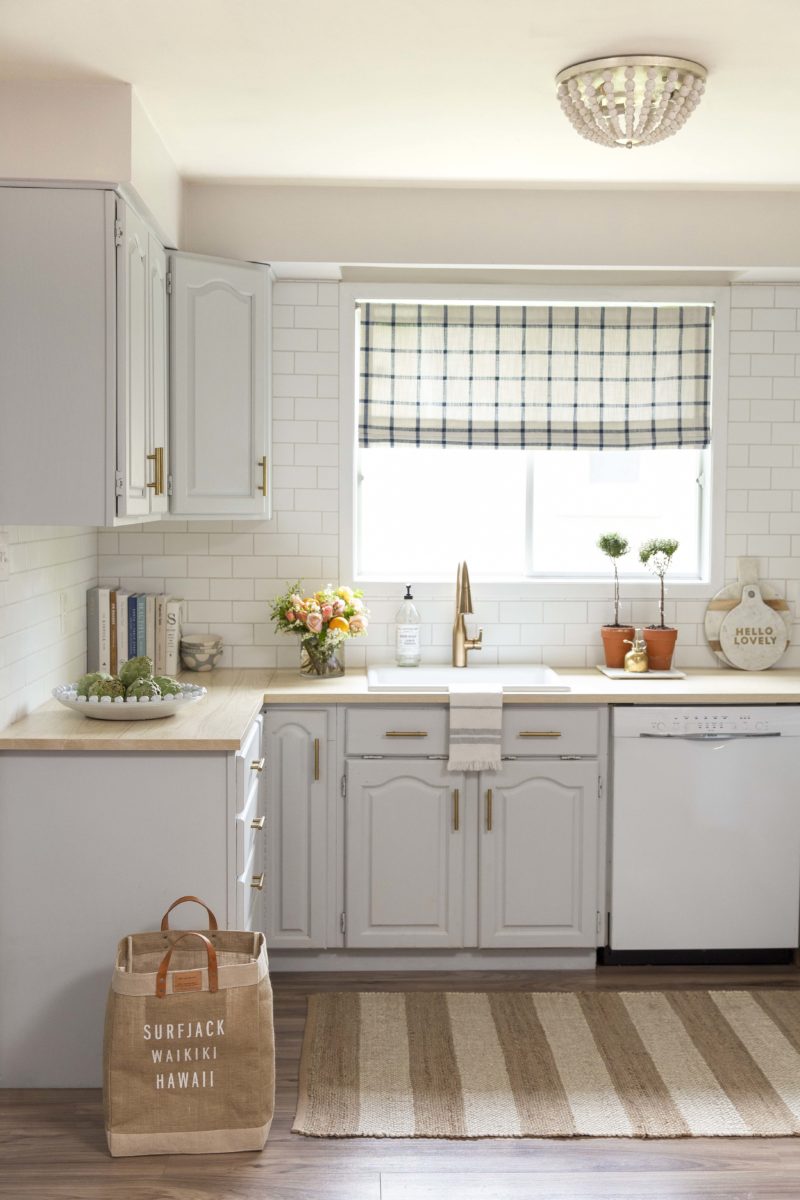
Cabinetry: We decided to paint our cabinetry rather than ordering new ones. Since this project was on a time crunch, we sanded our cupboards and immediately got to painting. We used FUSION Mineral Paint to do the job. I’ve used this paint on a kitchen table and now the cupboards and I can speak to its grit for busy areas. If I had more time and intended to spend longer at this house, I would have primed and sealed the paint. About 18 months later, the only touch ups I’d need is around the kick. plate area.

Counters: Good ol’ IKEA. We bought two slabs at $85 a piece, had them cut specific to our space and never looked back. I’m actually blown away at how well these laminate counters have held up to cutting, heat and potential water damage.
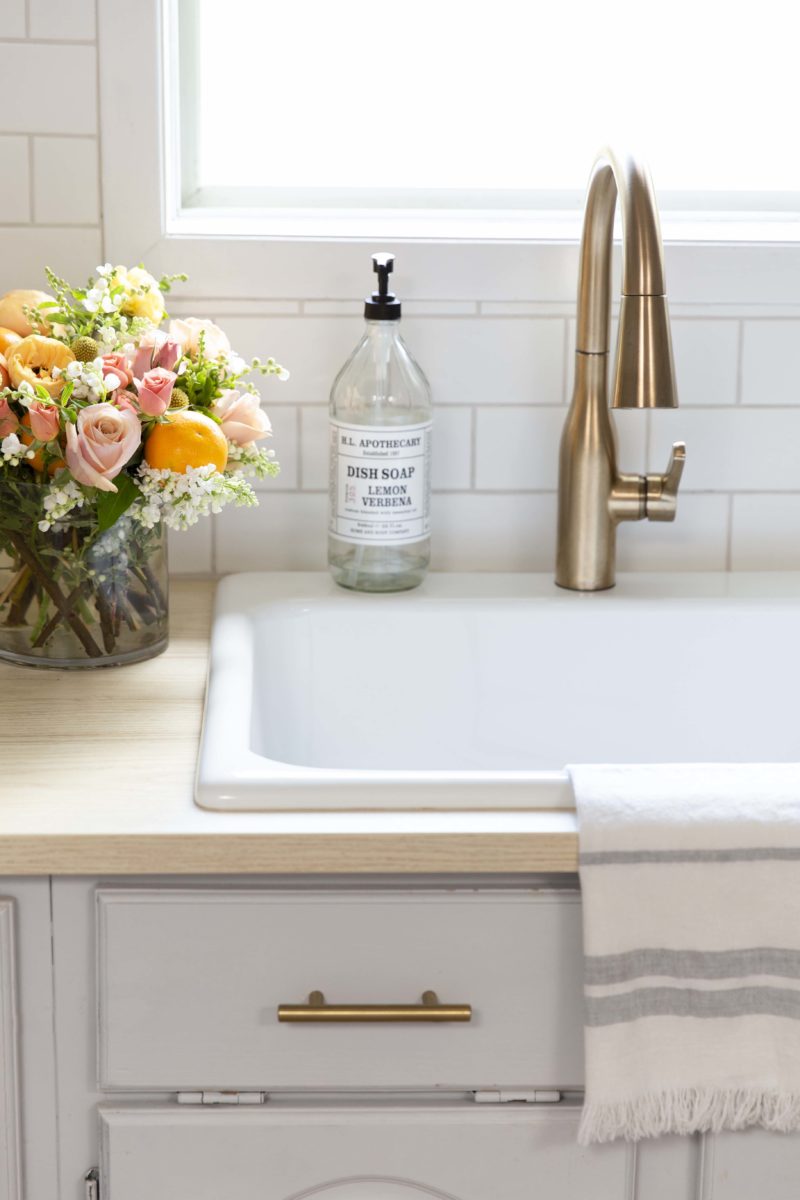
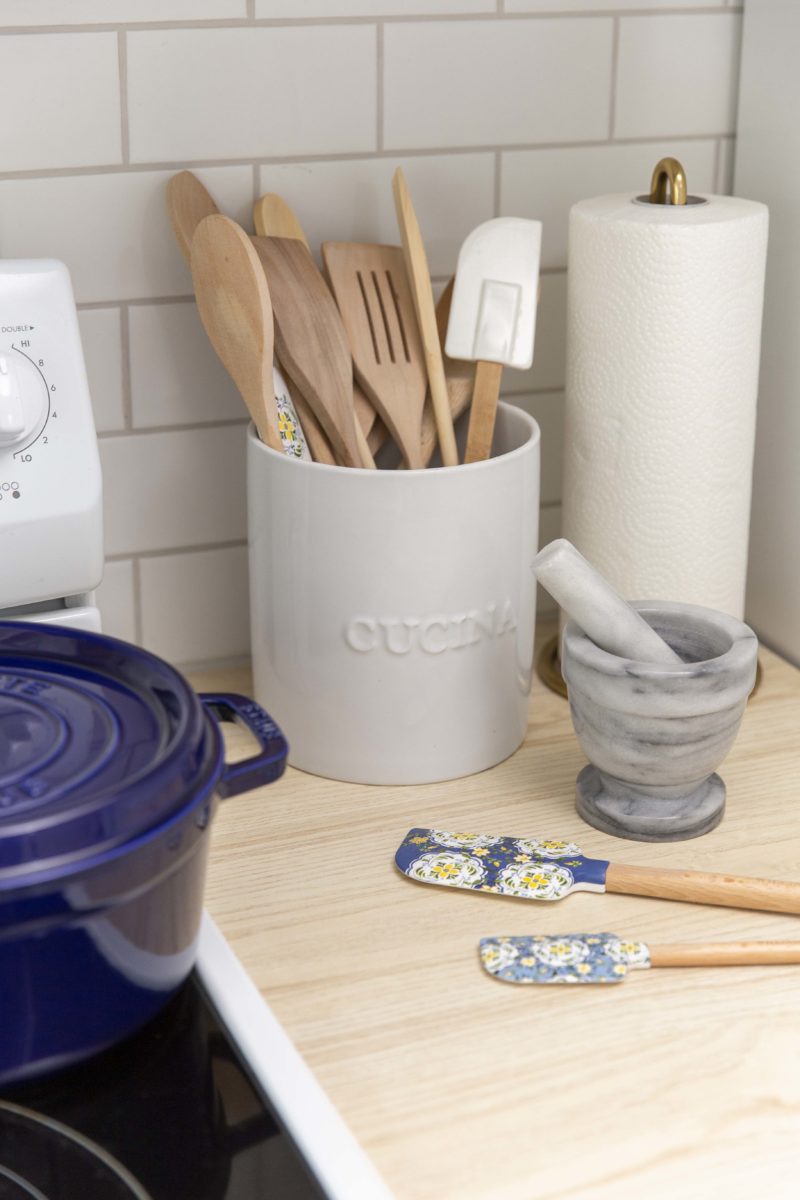
Backsplash: I had a budget of $100 to spruce up the backsplash. I debated paint, wallpaper scraps, vinyl and other 2D forms to avoid a white painted wall. I came across Cowboy Building Supplies in Kitchener and picked up 2 boxes of white matte subway tiles for $90 + tax. We borrowed a friend’s tile cutter and made it happen!
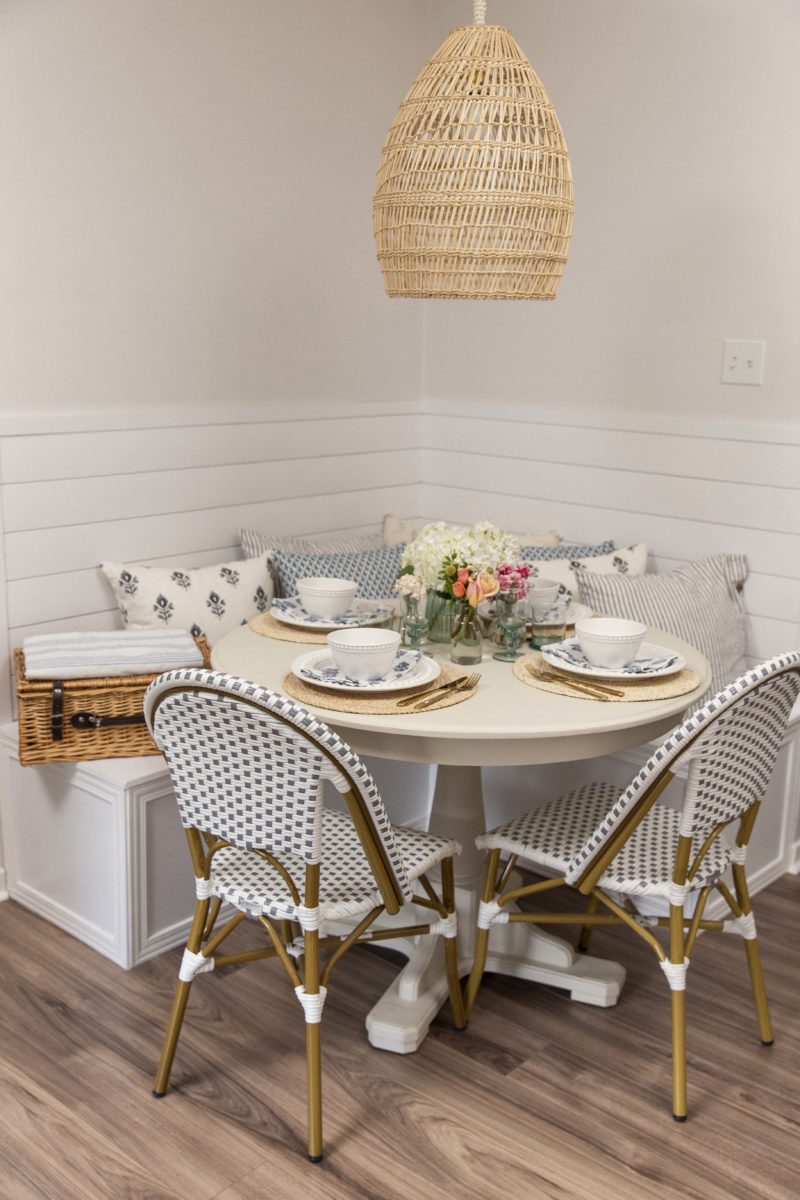
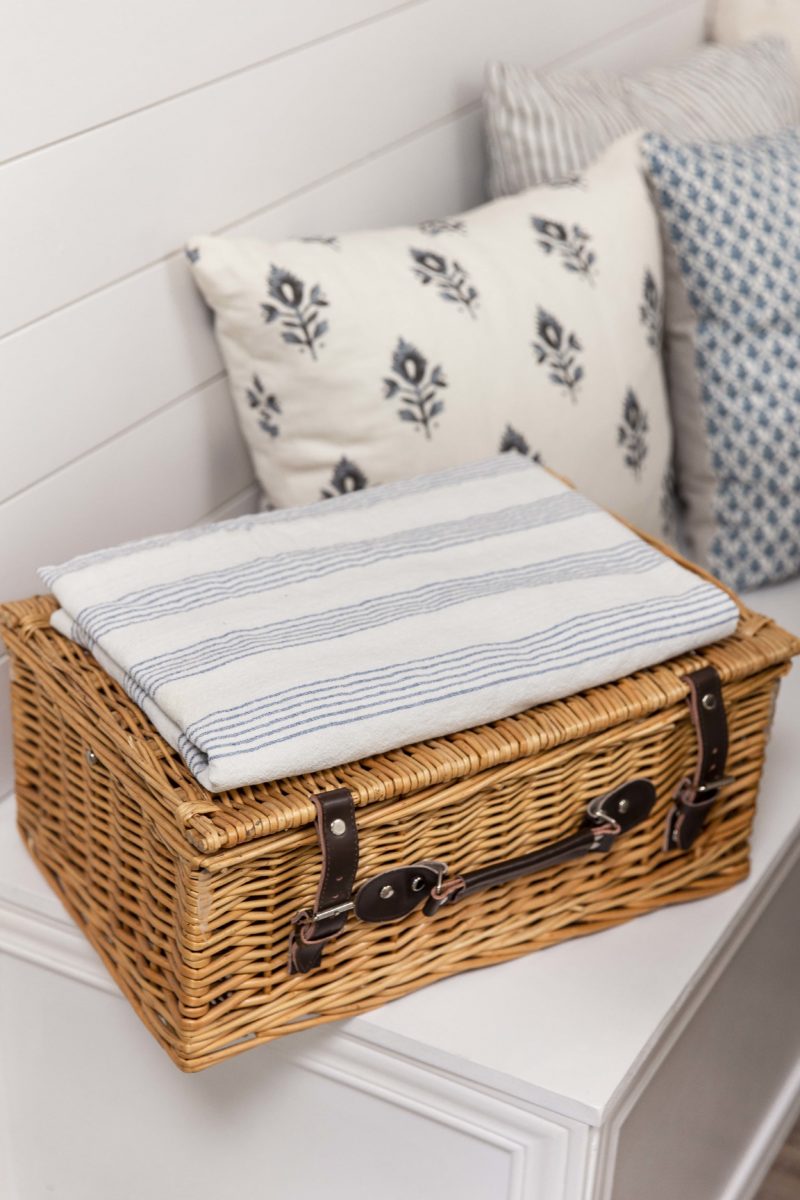
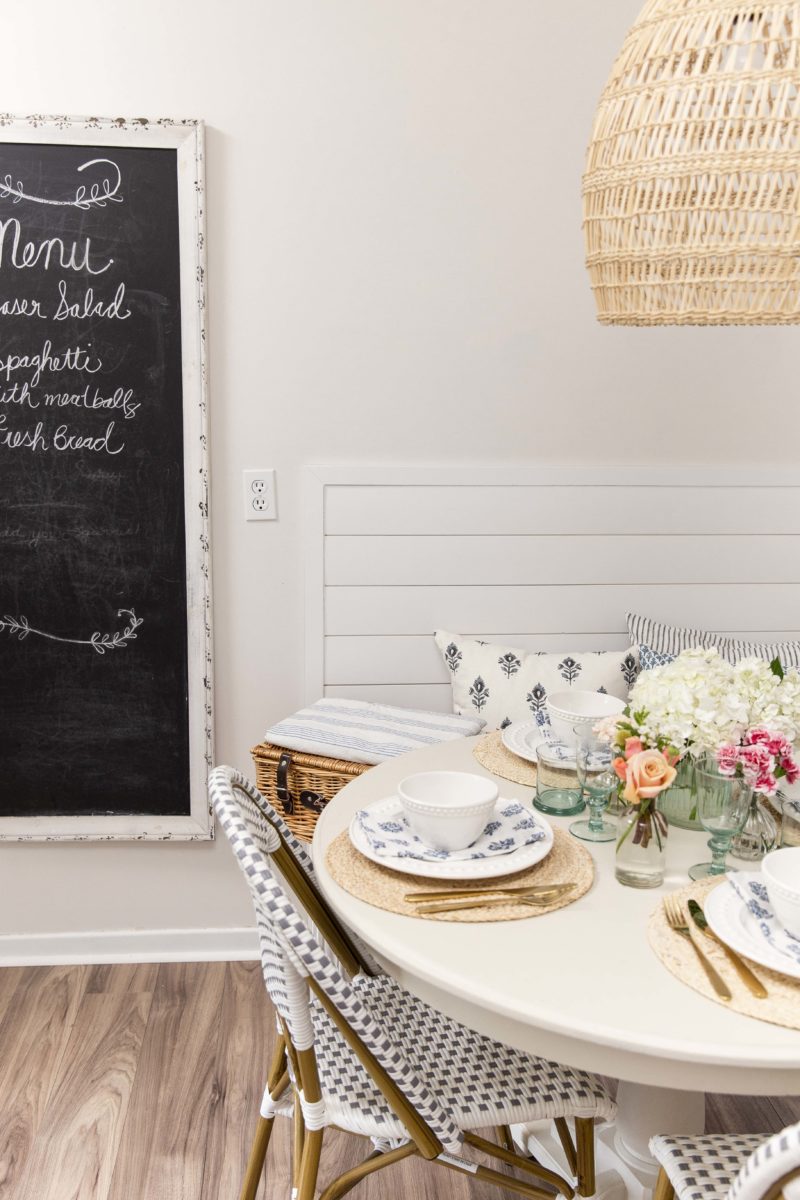
Breakfast Nook: We stared at that corner debating what we were going to do with it. Sure, a round table would look ok but we also wanted to have some fun with the space. After some begging (and nagging) Adam finally agreed to put his skills to test and constructed a built in bench with shiplap surround. We found some great tutorials on Pinterest to help with the project. I can’t like, the wooden base and backing doesn’t make for the most comfortable sitting situation but I’m not really interested in investing in custom cushions at this time to sit on.
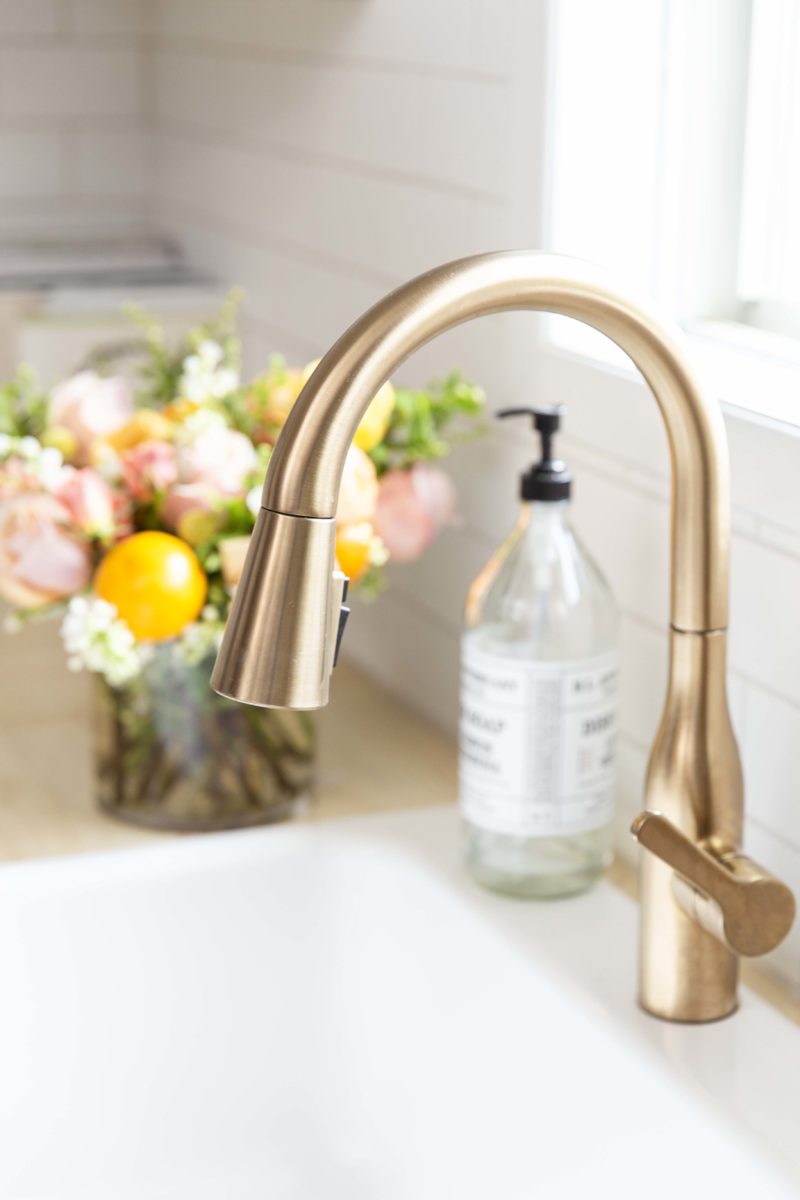
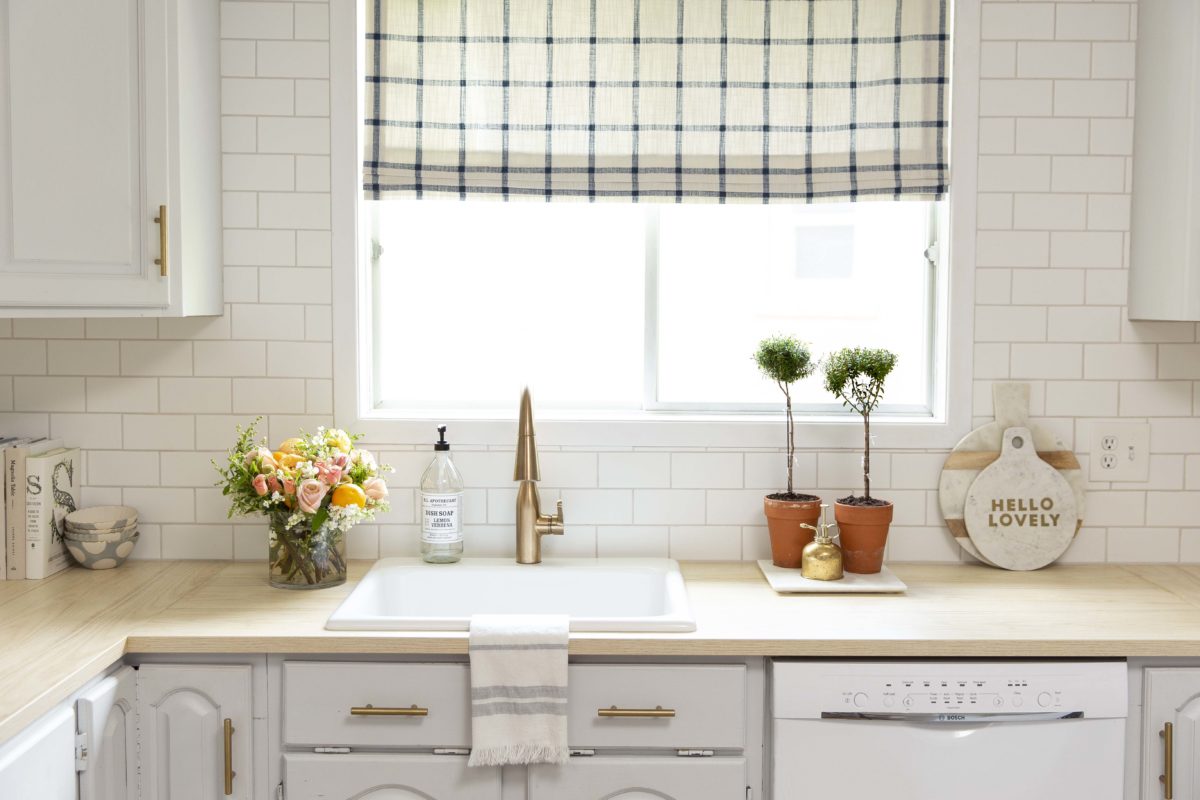
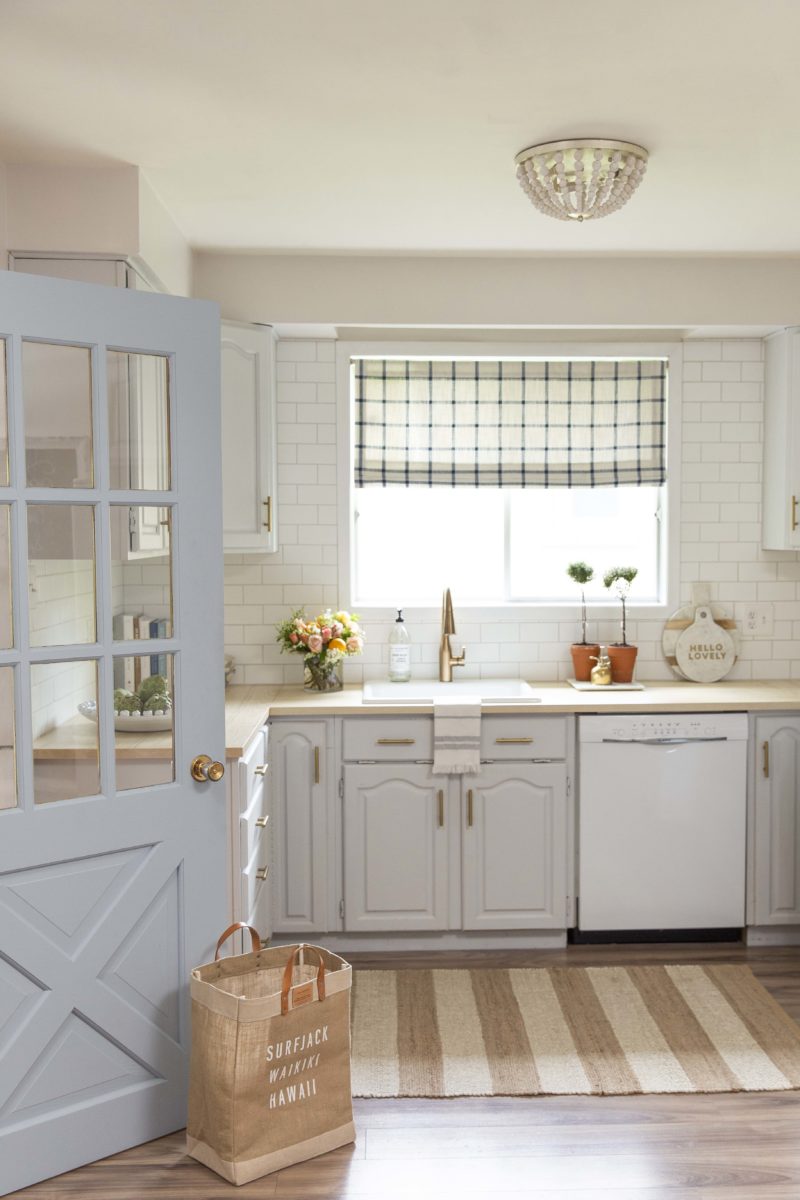
Faucet: I spent years working in the marketing department of Delta Faucet and when we had this DIY looming, I got in touch with my old crew to see what new products they had in store. The Delta Faucet Marca checked off all the boxes: pull down spout, single hole installation and it came in Champagne Bronze. I’m a sucker for the gold-esque finish from their collection of faucets and three houses later, can attest to how great these products really are.
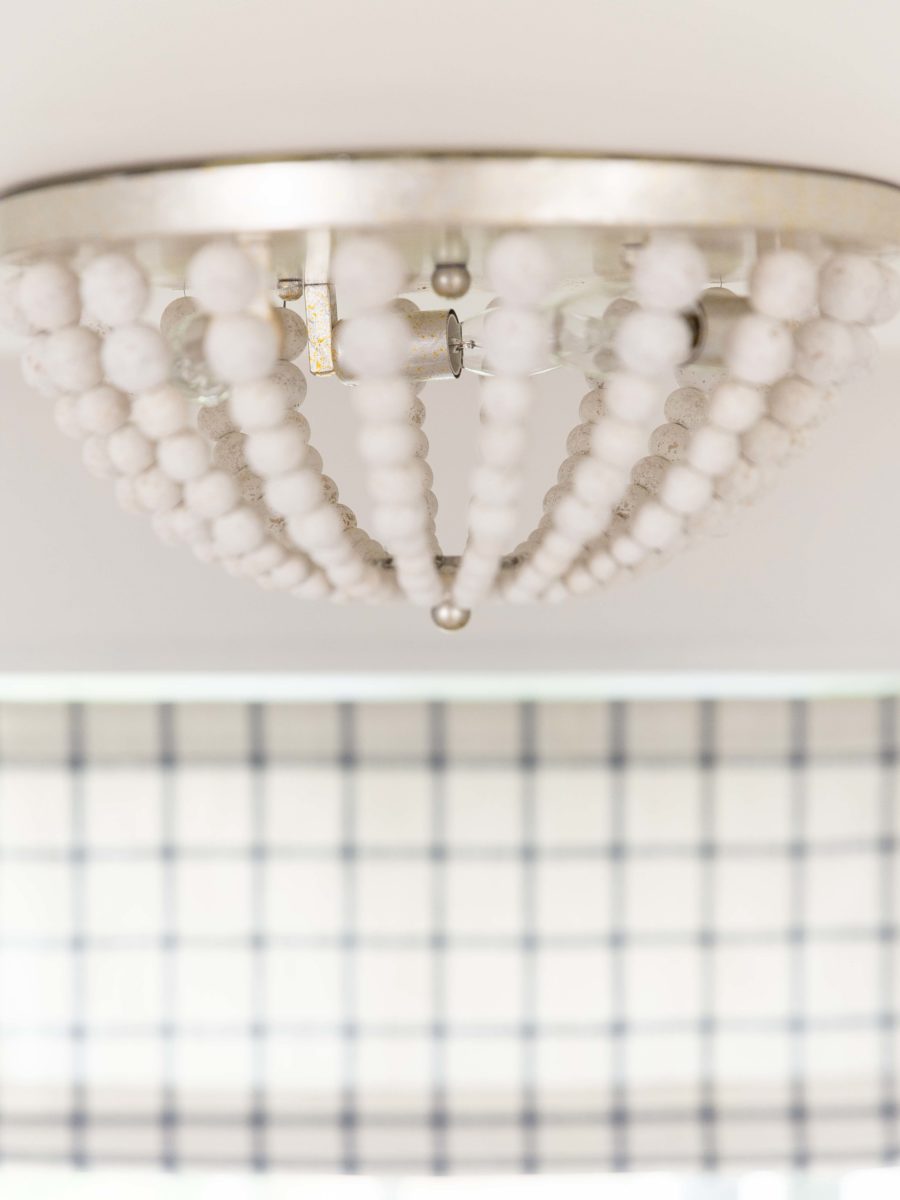
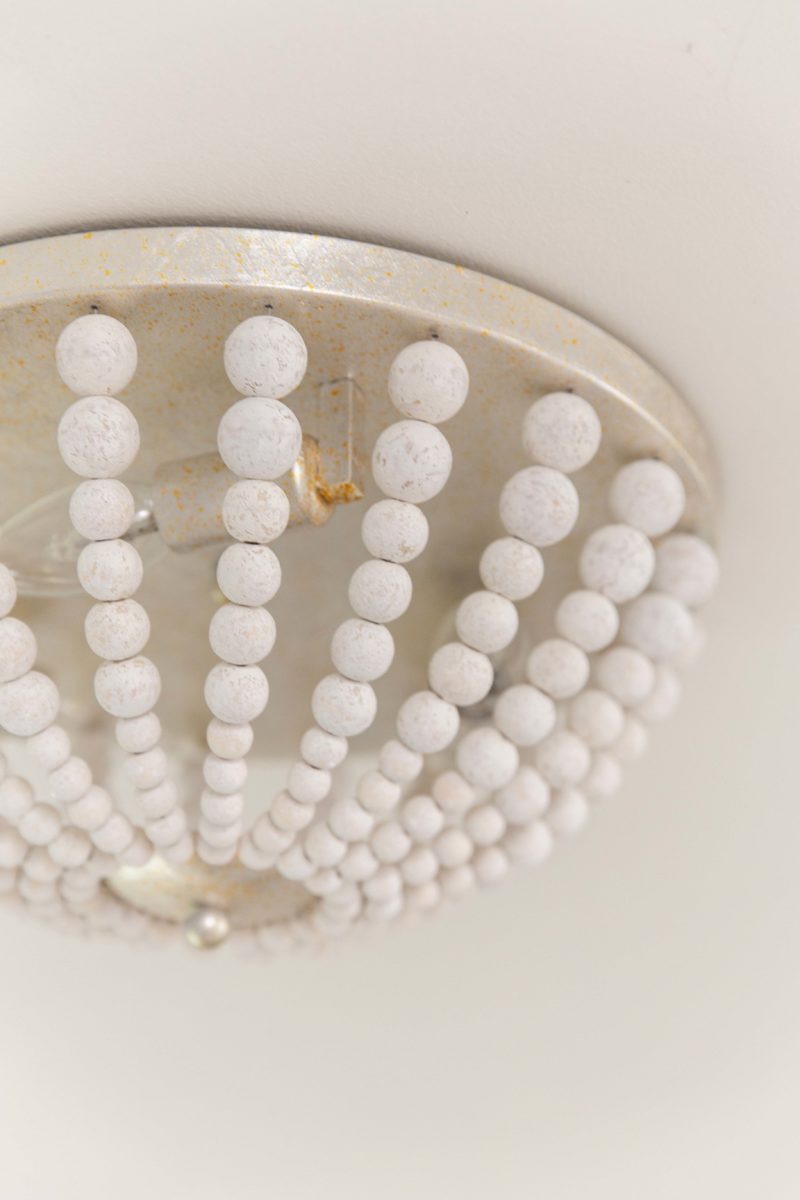
Ceiling Light: The piece that pulled it all together! This Dainolite ceiling fixture was the one missing piece that we needed to pull this space together. With 8 foot ceilings and situated over the working area, trying to find a flush mount light fixture that made a statement without being too intrusive in the space was difficult. Funny story, after going through this website, it dawned on us the reason we fell in love with the light fixture is because it was a match with the globe pendant chandelier we’ve specifically taken with us during the last three moves. It’s coastal yet chic and I always get a ton of compliments on it.
A few finishing touches that really pulled this space together and elevated it were the brass handles (an Amazon find), rattan striped rug and custom window covering to keep out noisy neighbours! We also decided to paint our backdoor a bright pop of blue to bring some colour to the space. I have to admit, I loved getting to use this project as a test kitchen to see how I feel about light grey cabinets and a pop of blue in this space. The mix of colours is totally growing on me!

Tally:
Hood Vent: $120 (Required replacement)
Rug: $75
Cupboard Paint: $50
Cupboard Handles: $80
Counters: $170
Kitchen Sink: $190
Pendant Light: $90
Rope: $40
Wall Paint: $40
Backsplash: $100
Window Covering: $80
Materials for Bench: $150
Paint for Door: $25
Faucet: Gifted
Wooden Flushmount: Gifted
Total: $1,170
Ceiling Light: ℅ Dainolite | Cabinetry Paint: ℅ Fusion Mineral Paint | Brass Handles | Similar Subway Tile | Backsplash Grout – Delorean Grey| Kitchen Faucet ℅ Delta Faucet Canada | Kitchen Sink
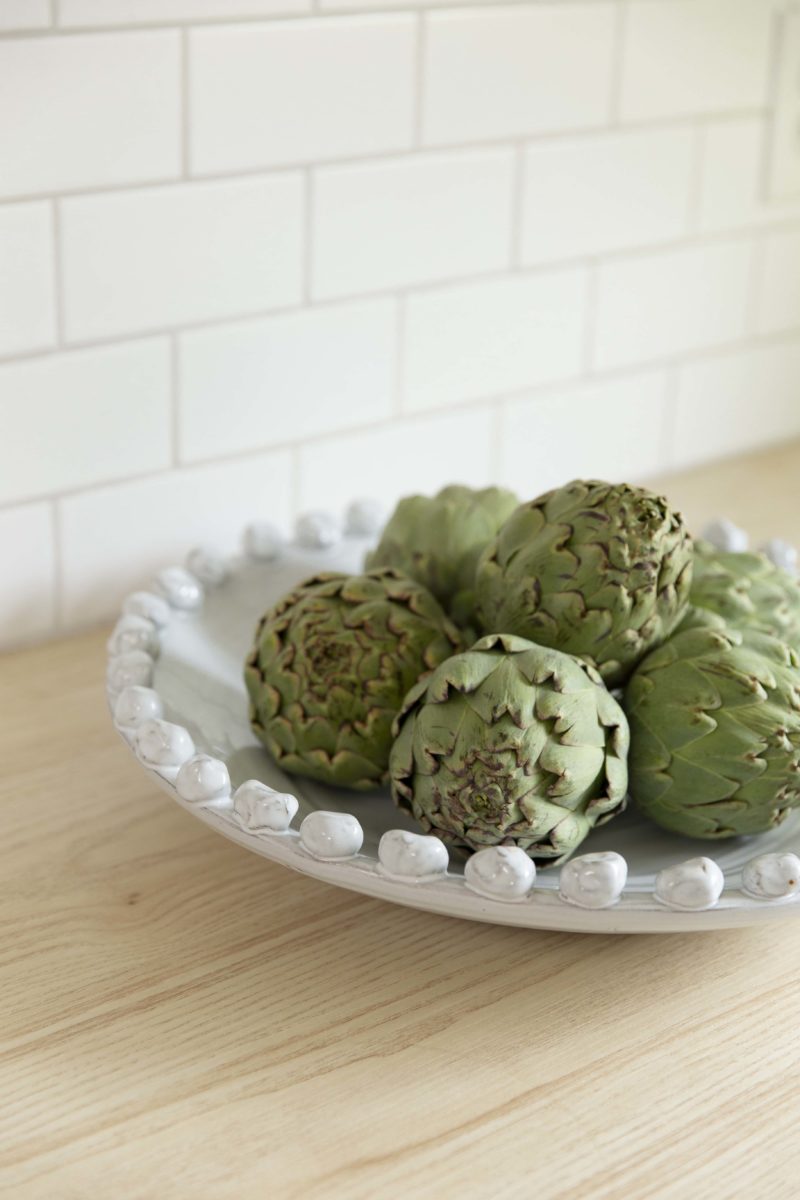
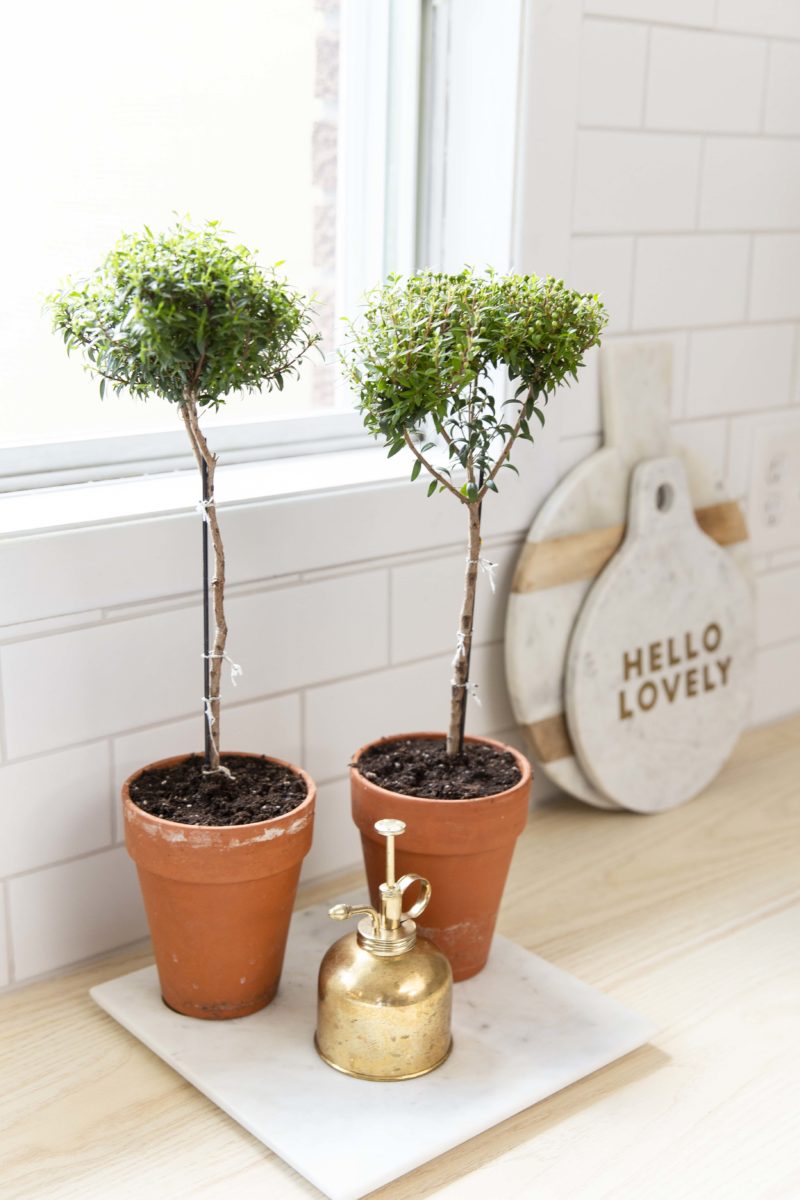
Marble Board | Myrtle Topiaries | Round Marble Cutting Board {Large} | Small Round Cutting Board | Oversized White Bowl | Marble Pedestal | Striped Rug | Window Covering | Similar Dish Towel
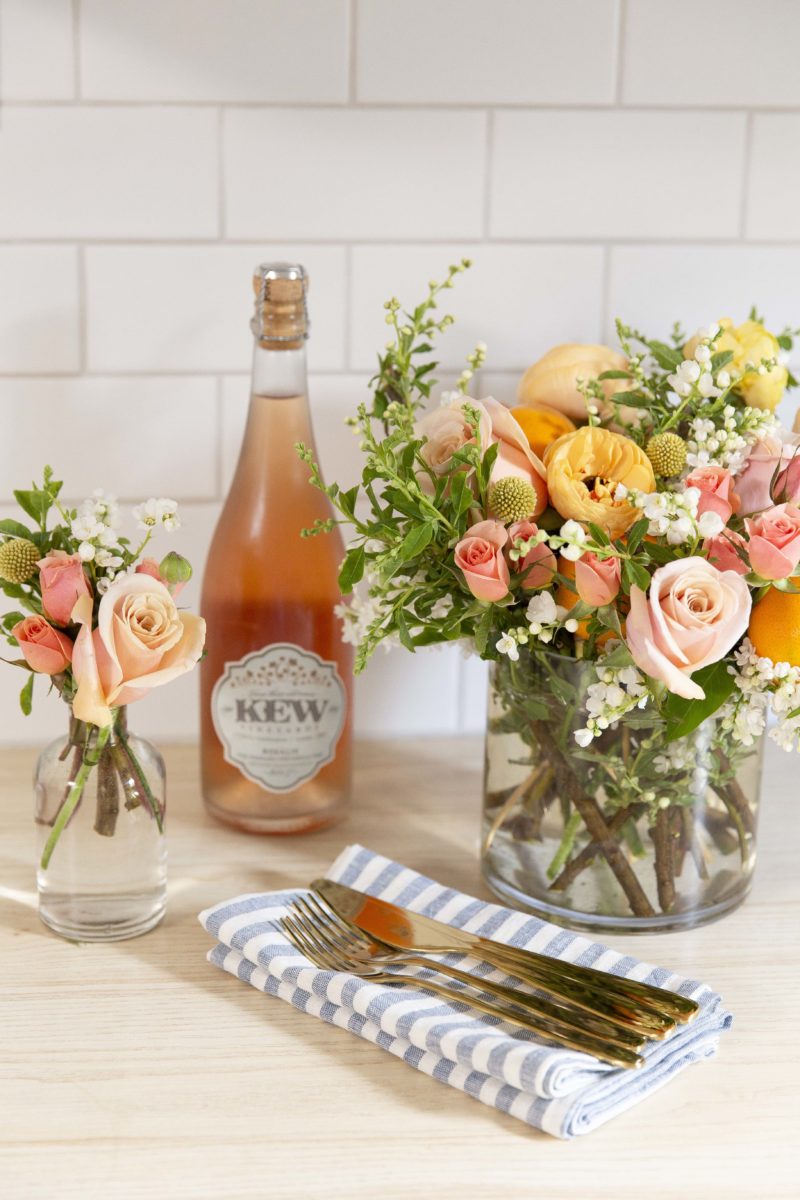
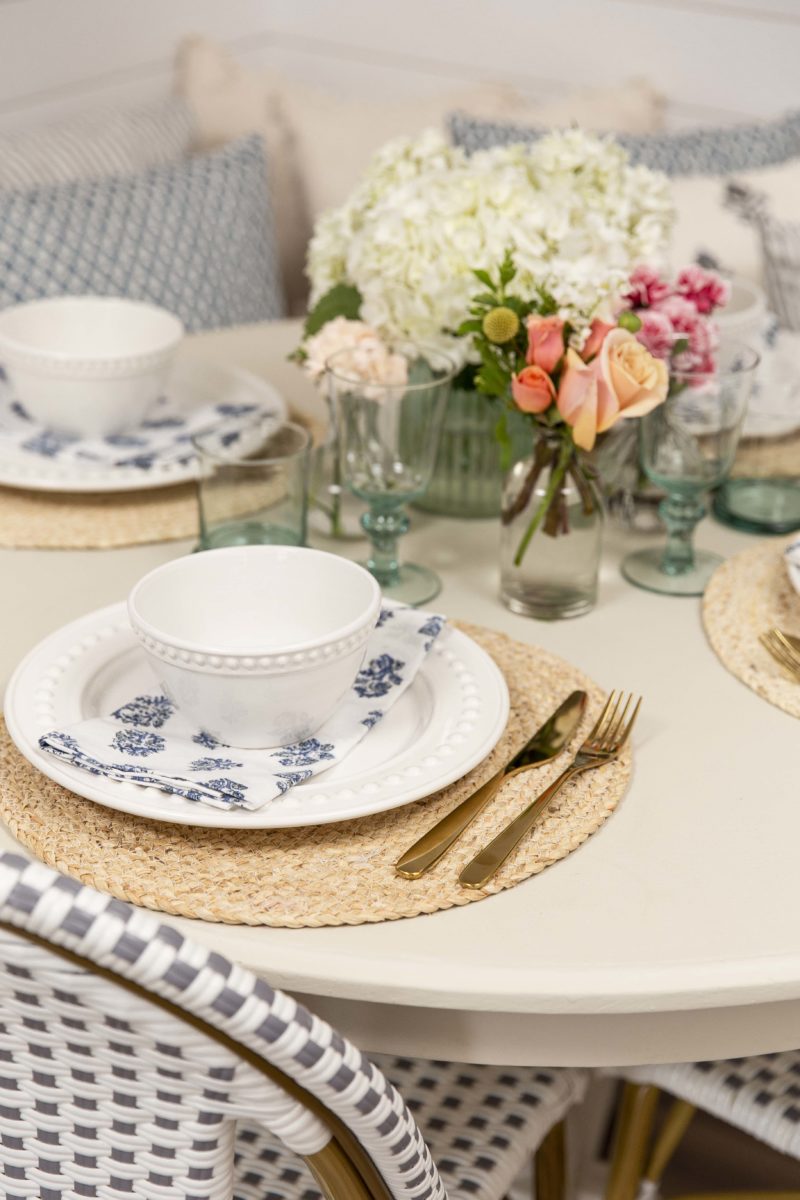
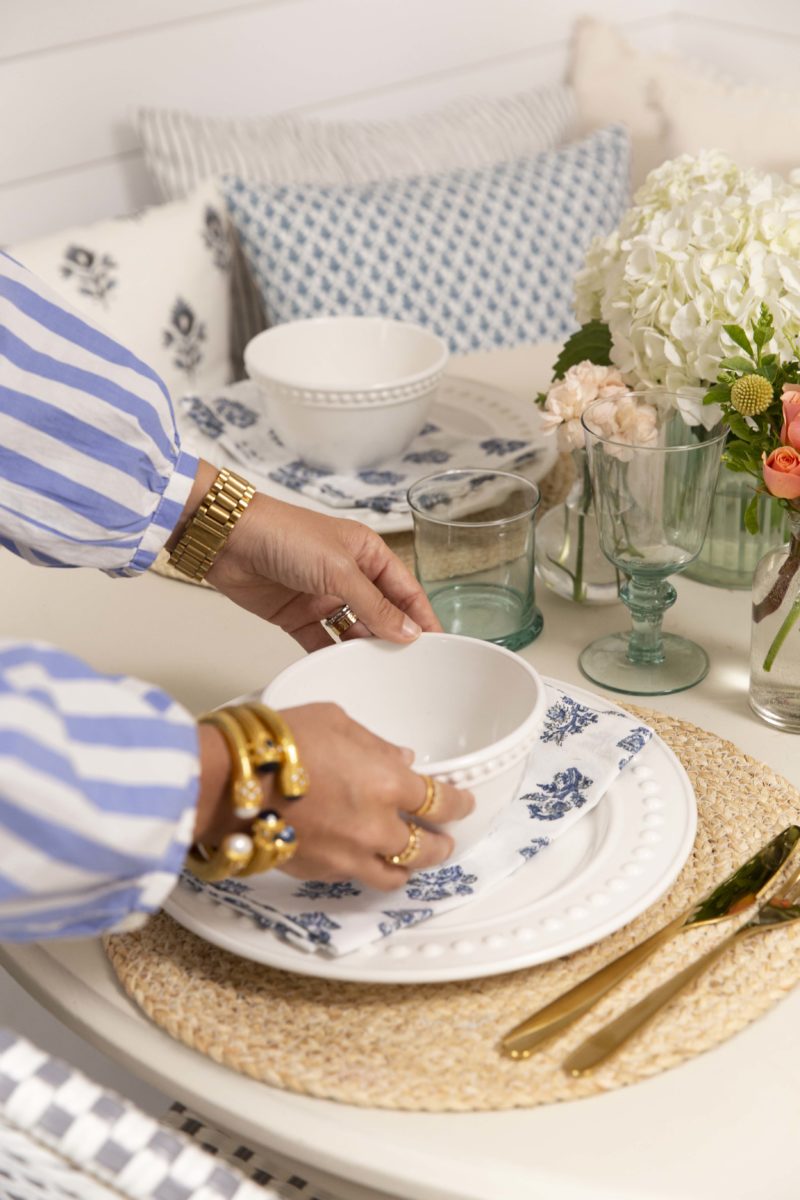
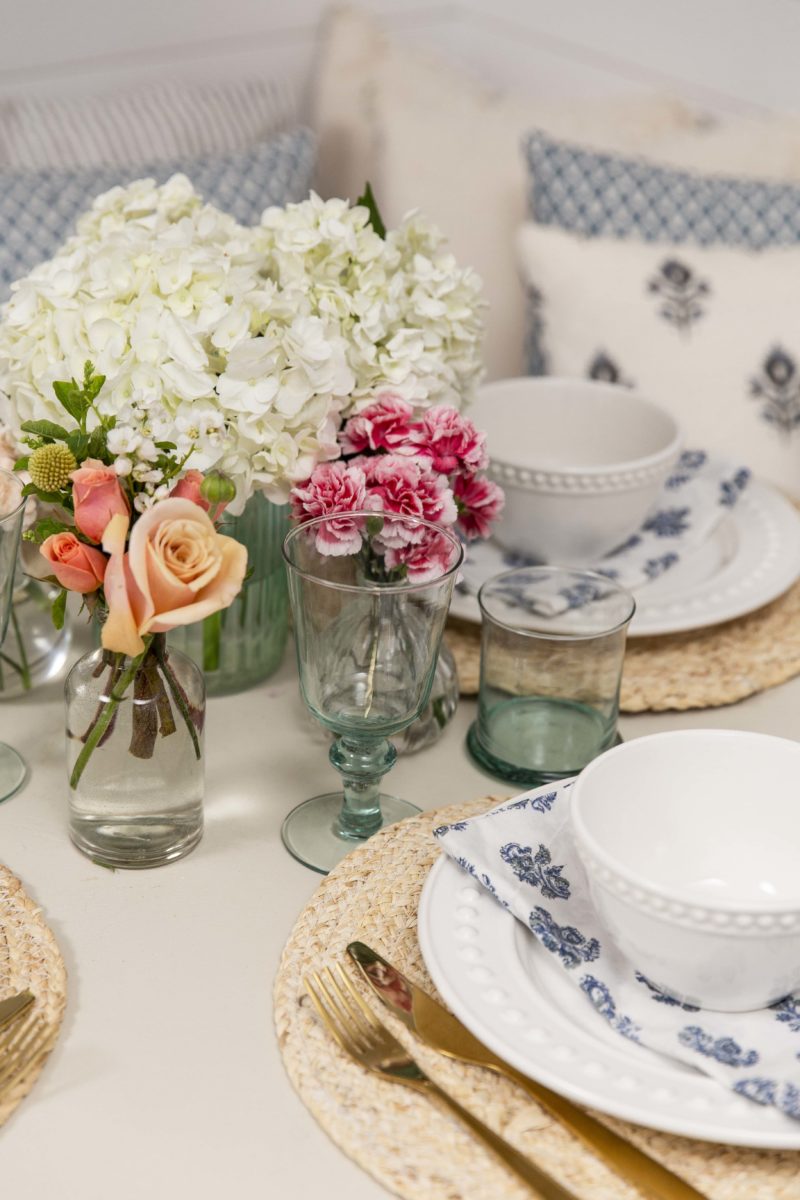
Similar Round Table | Similar Plates {Homesense Find} | Block Print Napkins | Glassware | Bistro Chairs | Woven Pendant Light | Rope Chord | Rattan Placemat | Gold Cutlery
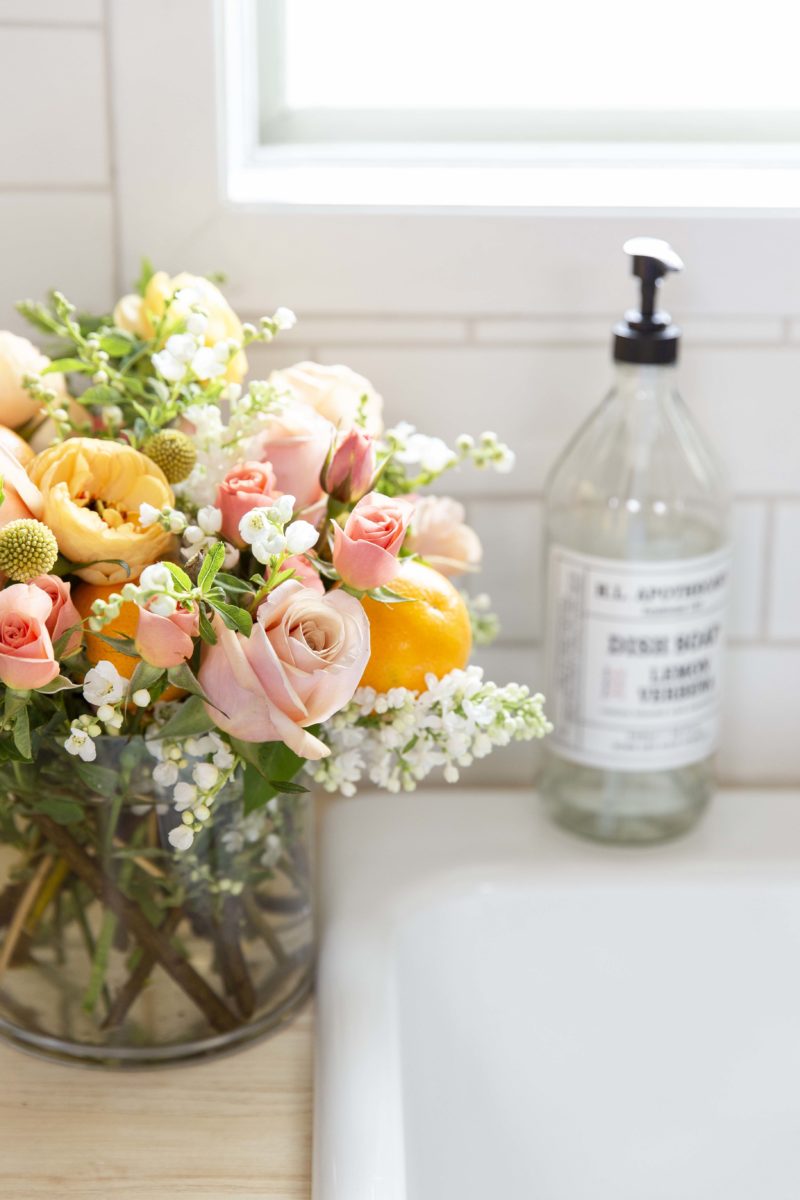
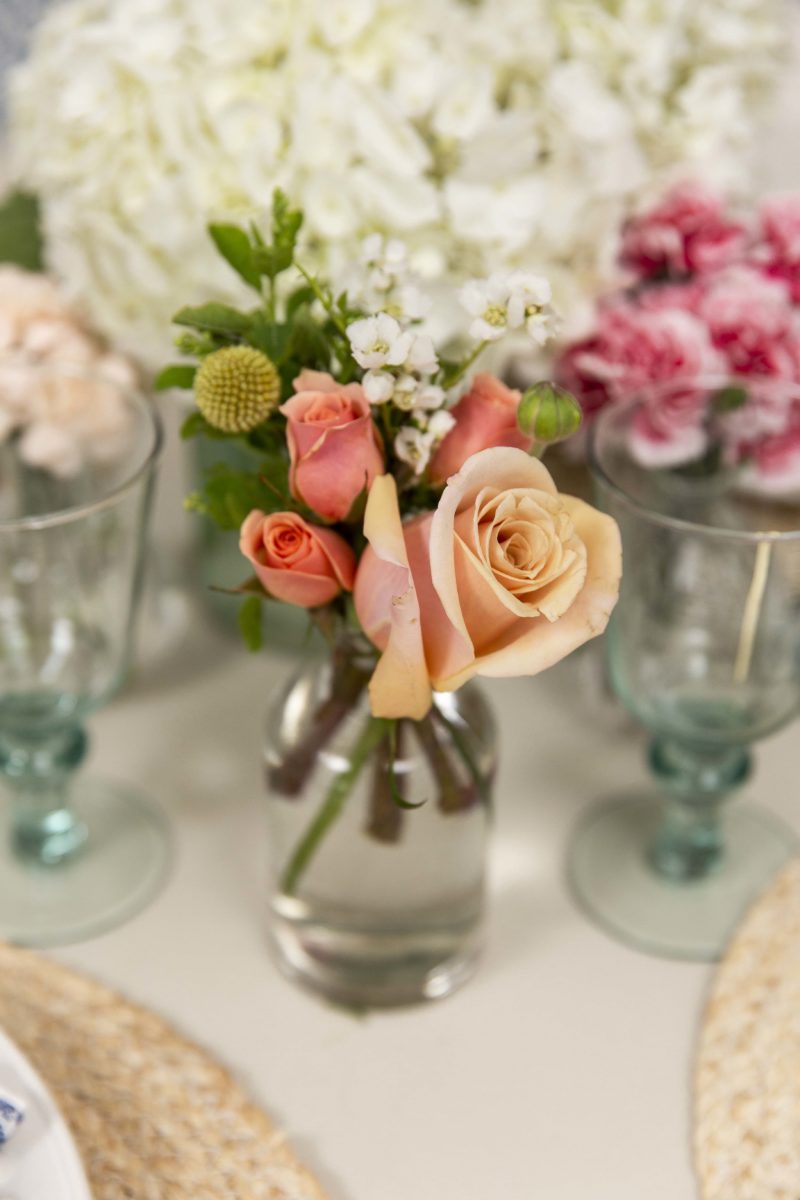
Flowers by Flowerly
Shop the post


This is incredible! I’m so impressed and inspired. One thing I’m curious about is the floors. Did you have to
Replace and match the floors throughout the whole house? Thanks!
The most amazing kitchen reno on a budget I’ve seen!! I’m feeling inspired! xo
Love it! I might copy it for my kitchen Reno! I was wondering what kind of flooring did you do?
Thanks!
We actually ripped out vinyl flooring from a friend’s house before they completed their reno and ran it in our living room, dining room, kitchen and hallways but stopped it at the bedrooms :)
Weekend warriors haha you can do it!
Love your bistro chairs. Reminds me of all the cute cafes in Paris. Where can I find similar ones?
What color did you paint the cabinets? It’s gorg!
These are Pebble by Fusion Mineral Paint xx
It’s so true! Love a good bistro chair! Here’s a similar style: https://bit.ly/3fNbMcp