- Beauty
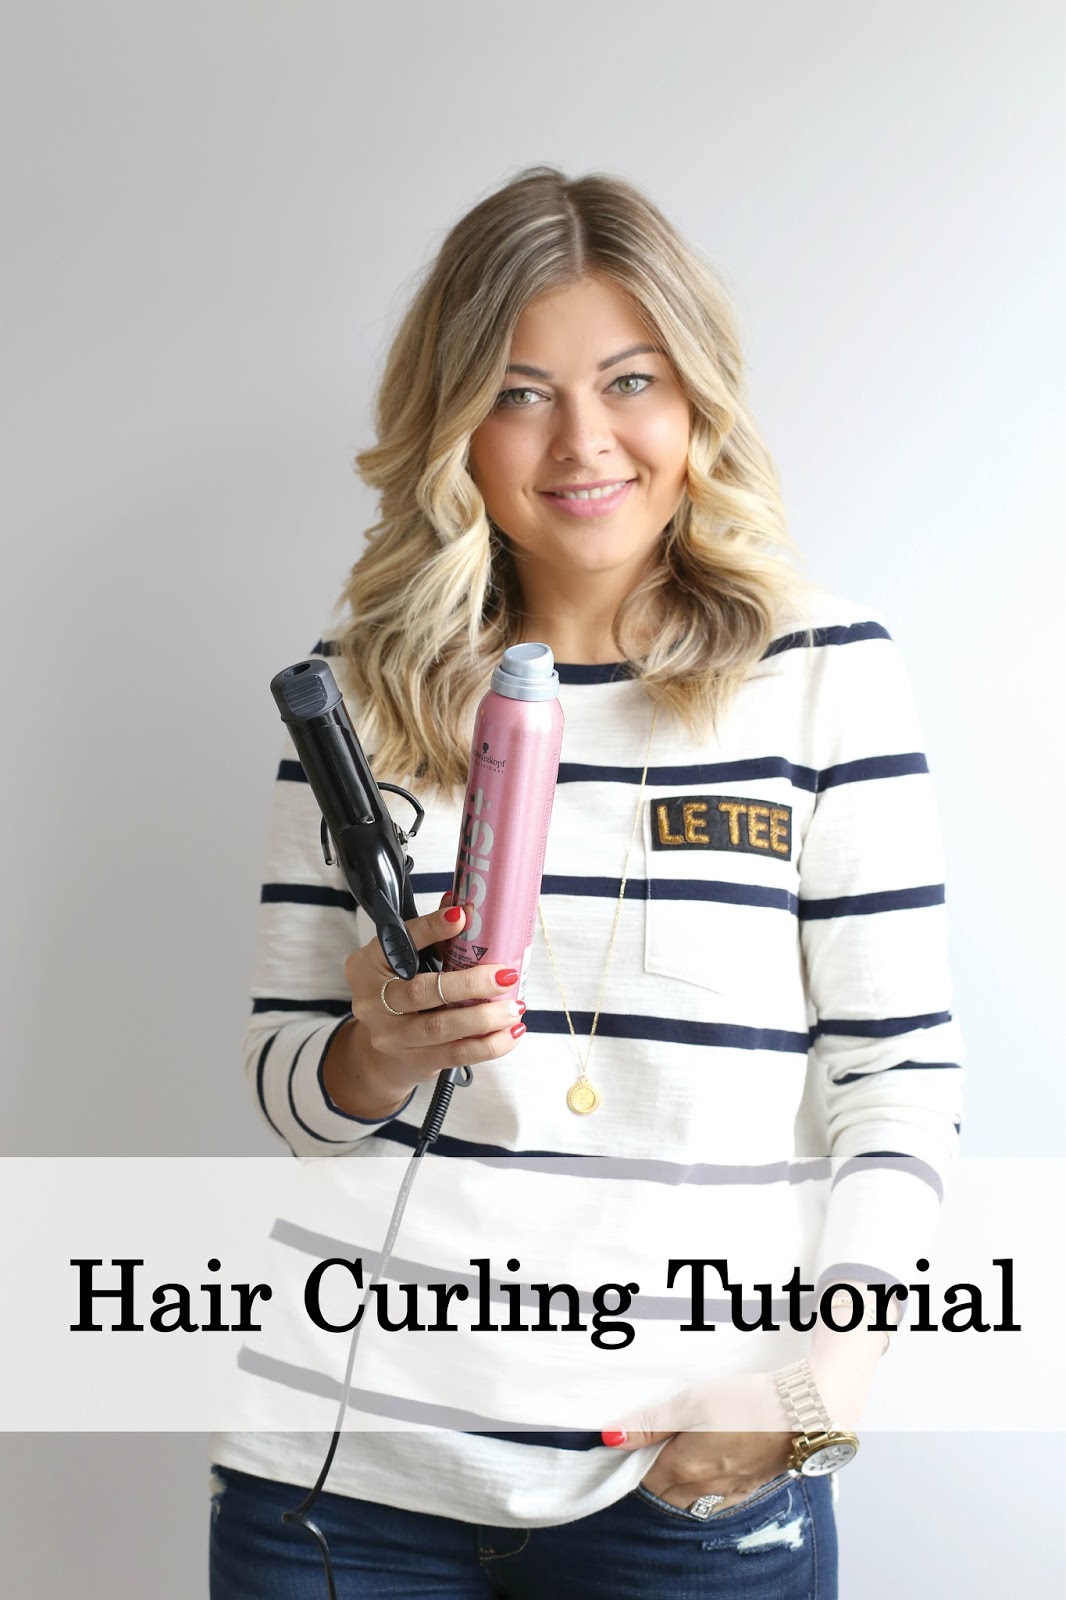
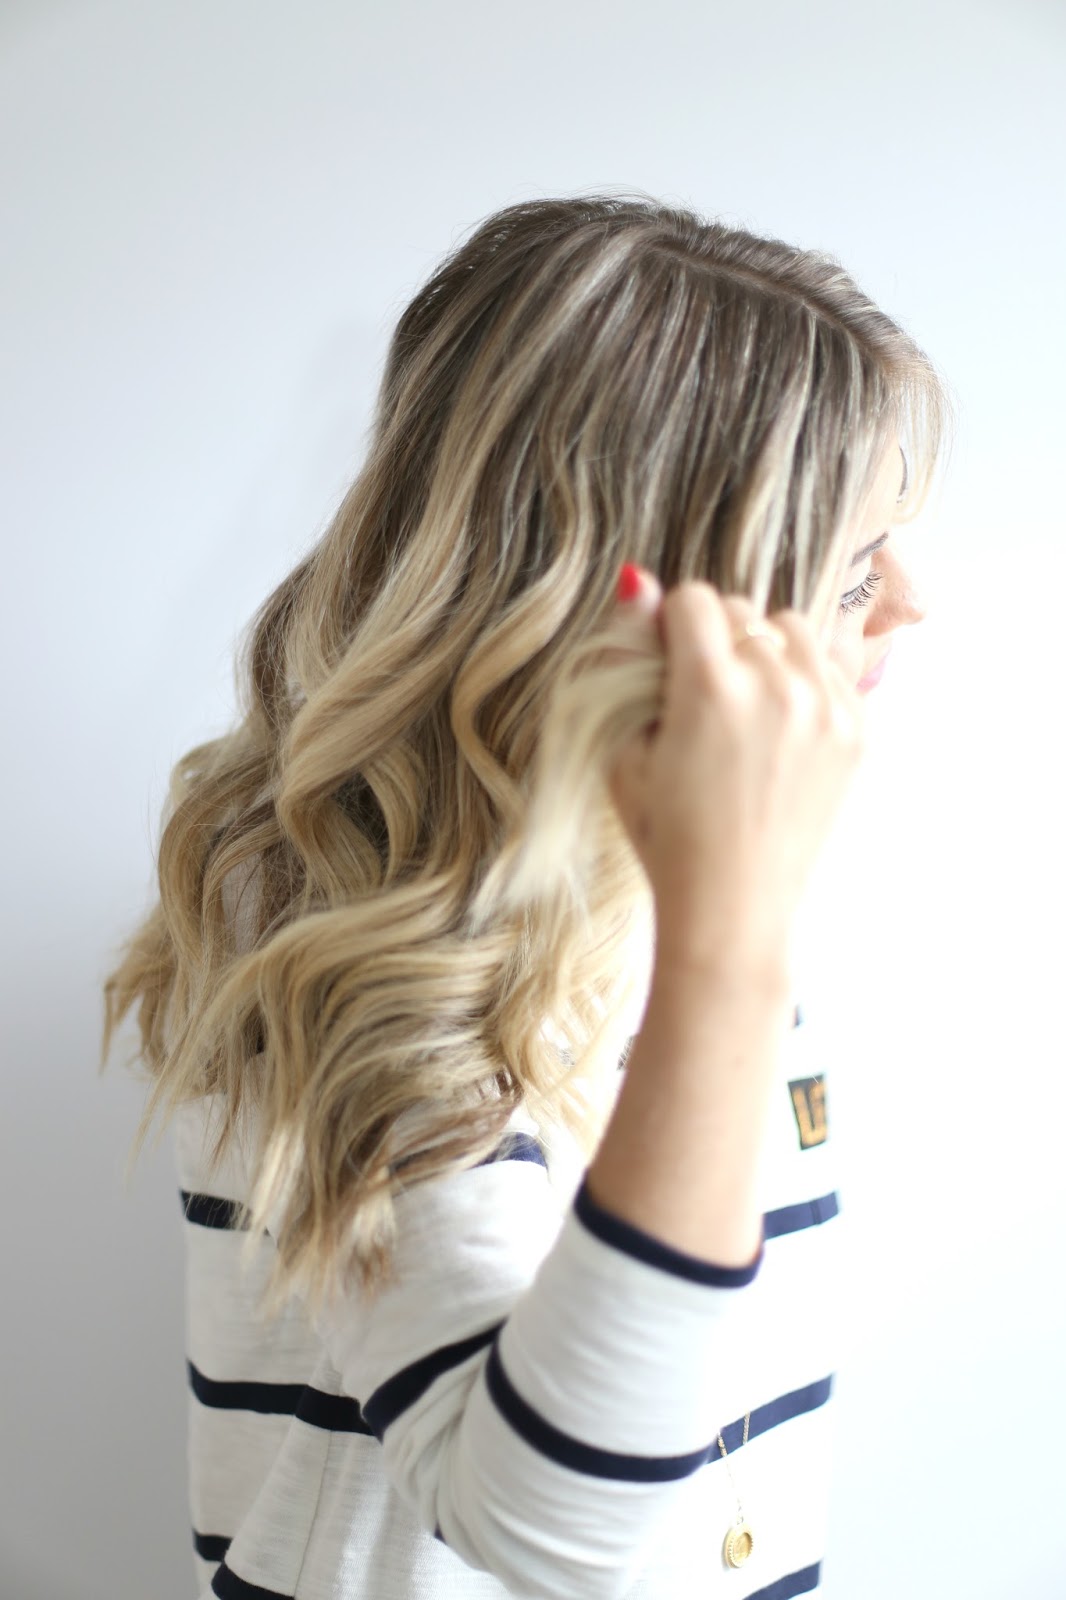
Tousled Waves with Schwarzkopf Professional OSIS+ SOFT GLAM
 |
|
|
 |
|
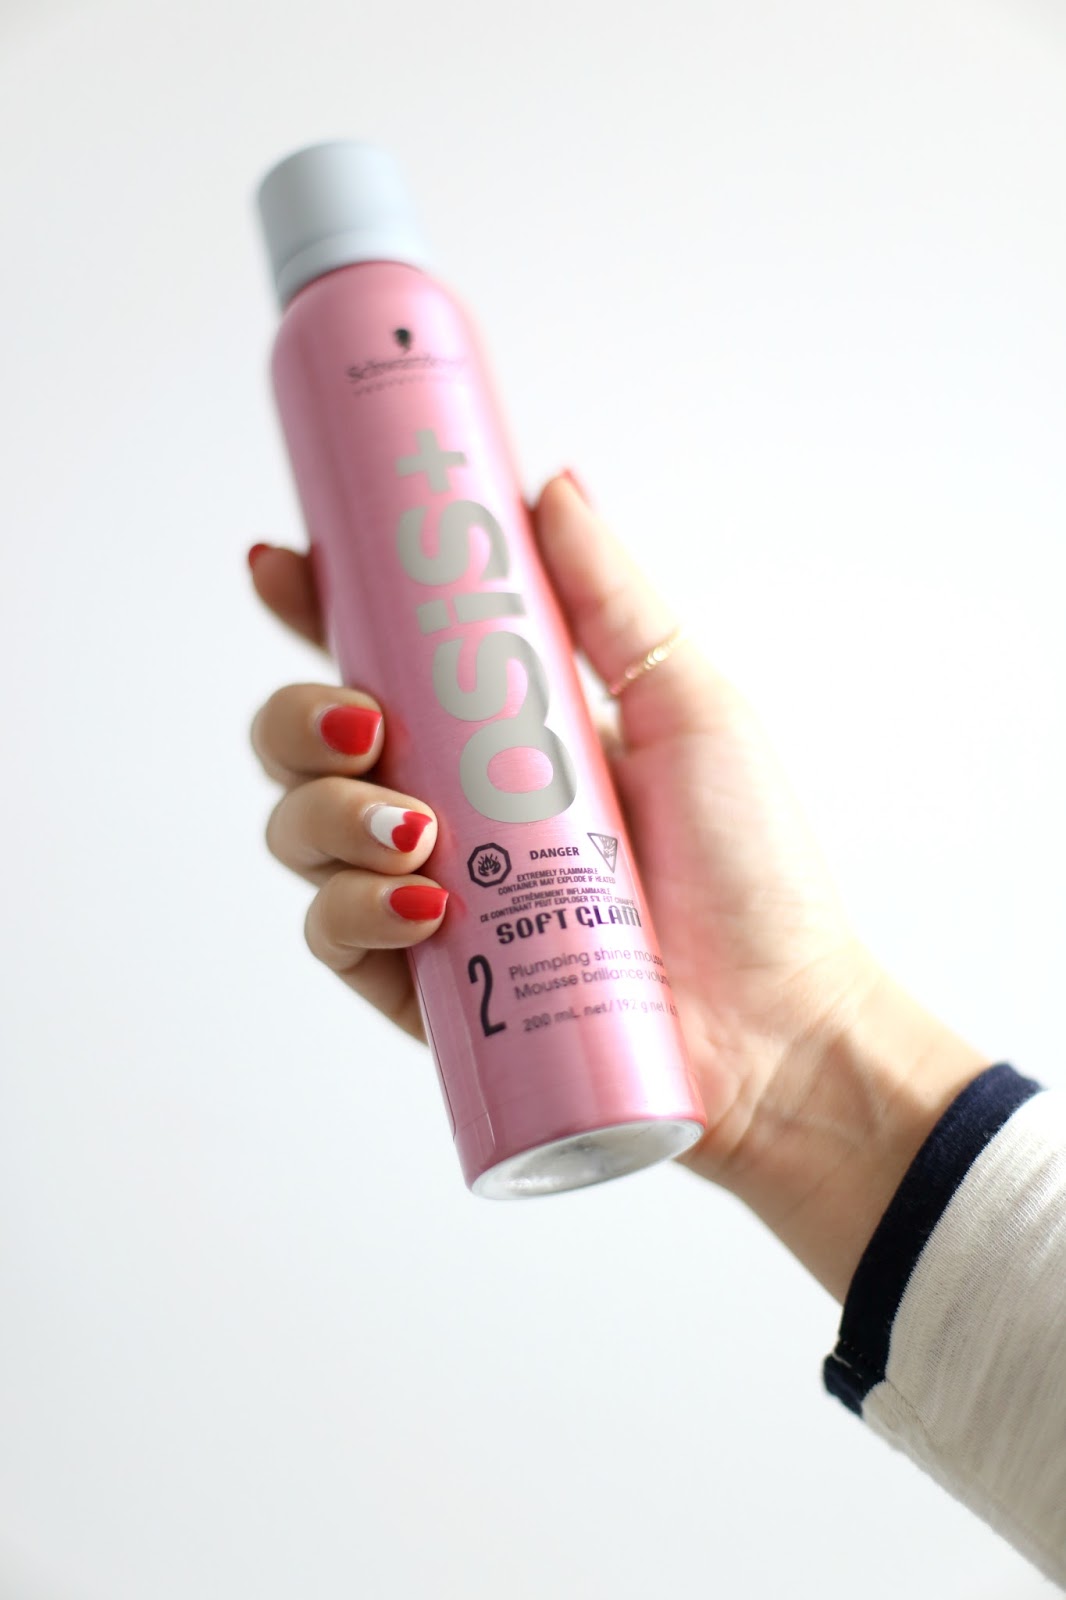
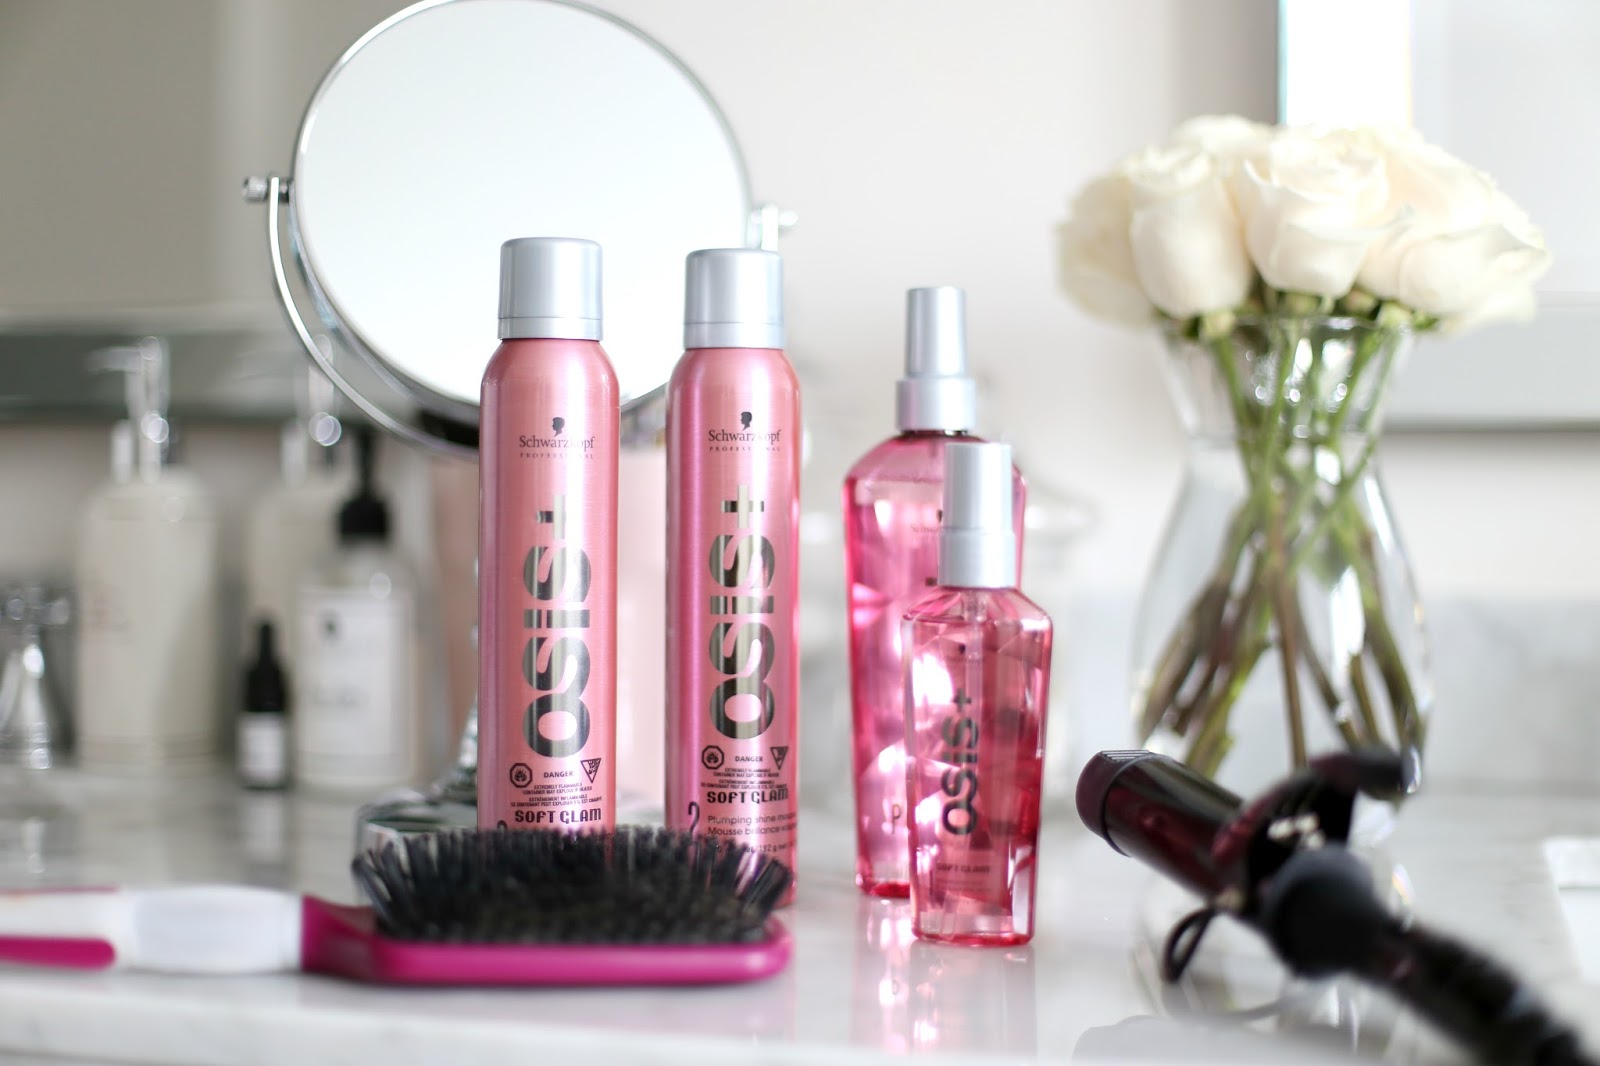
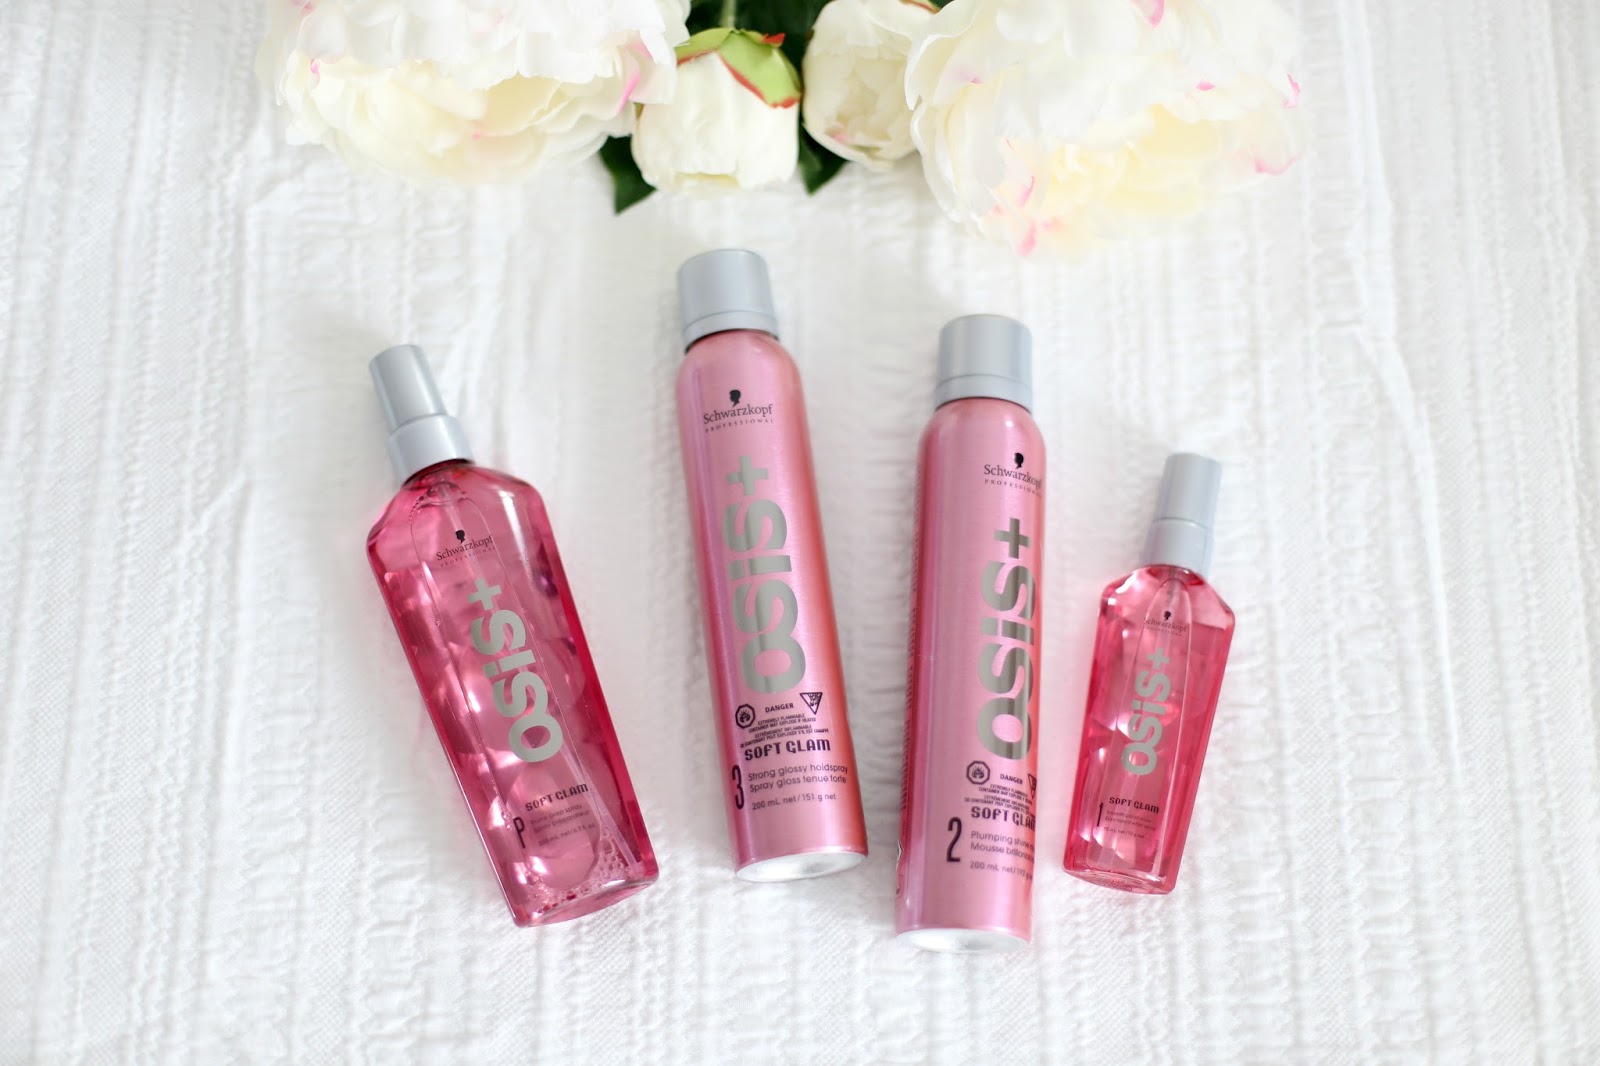
I was recently introduced to the OSIS+ SOFTGLAM lineup of products and I must say, I’m thoroughly impressed with the
results. My hair doesn’t take to blonde highlights so well so ensuring that I am regular with masks, use of oils and salon quality products is a must in my hair regimen to ensure I avoid breakage and dried out locks.
This specific range of Schwarzkopf
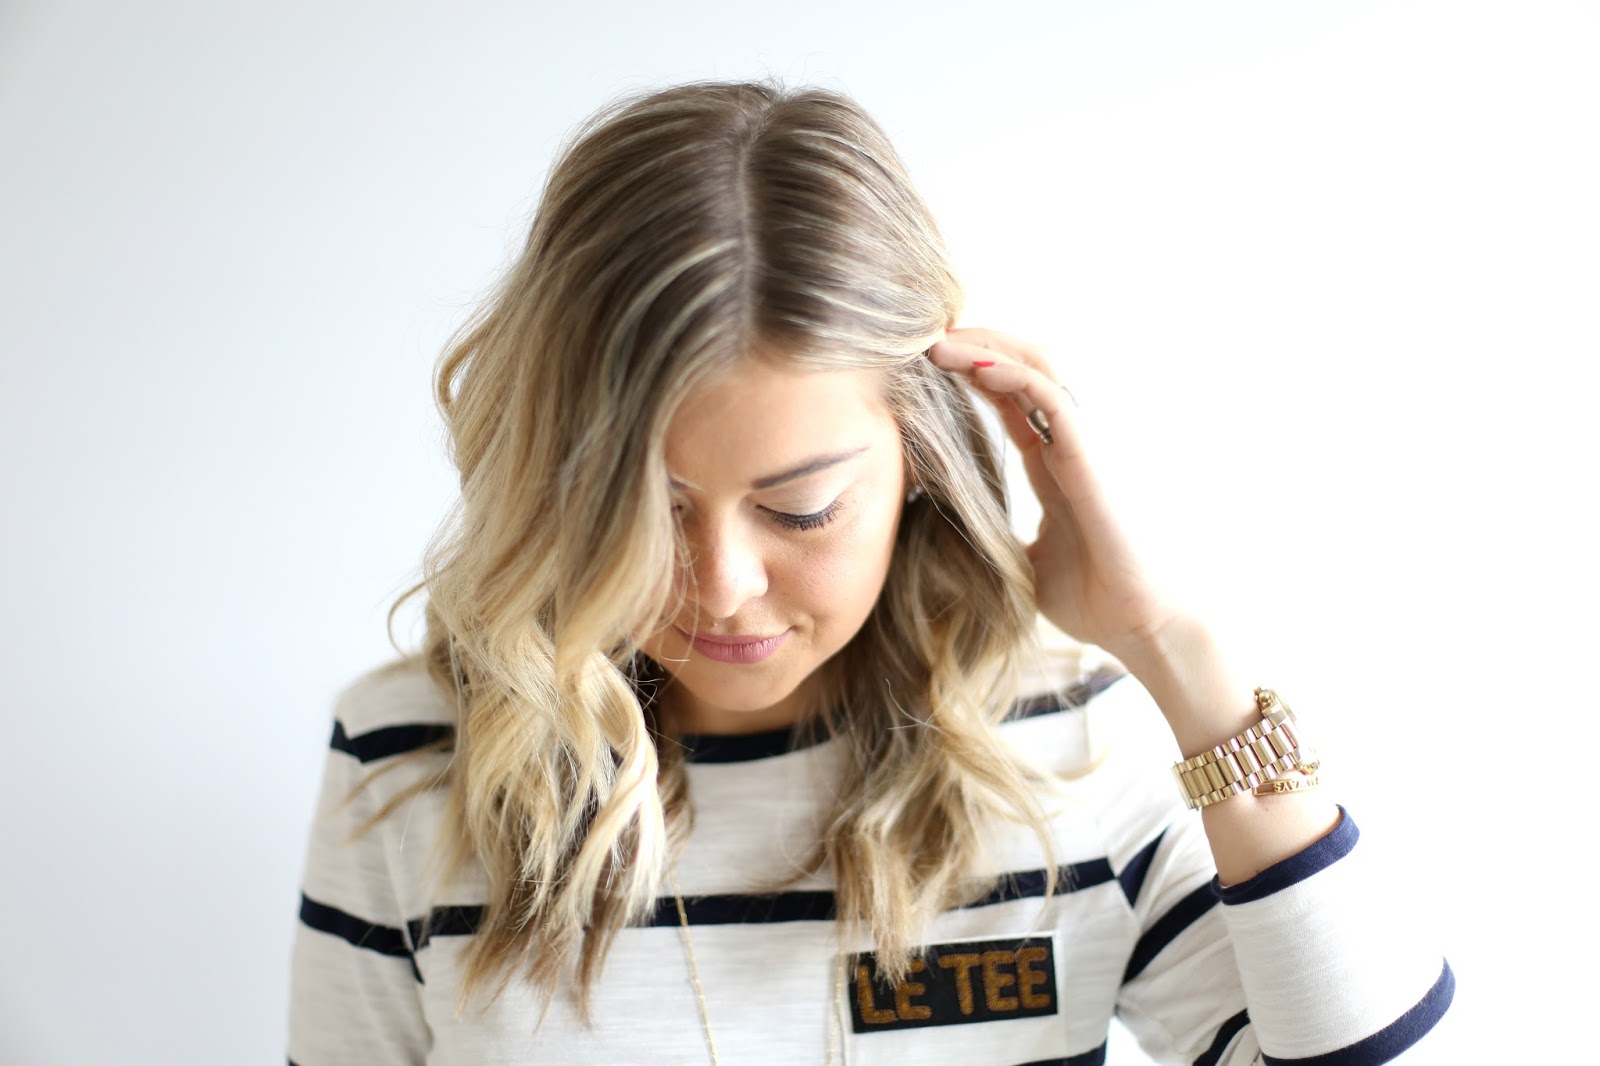
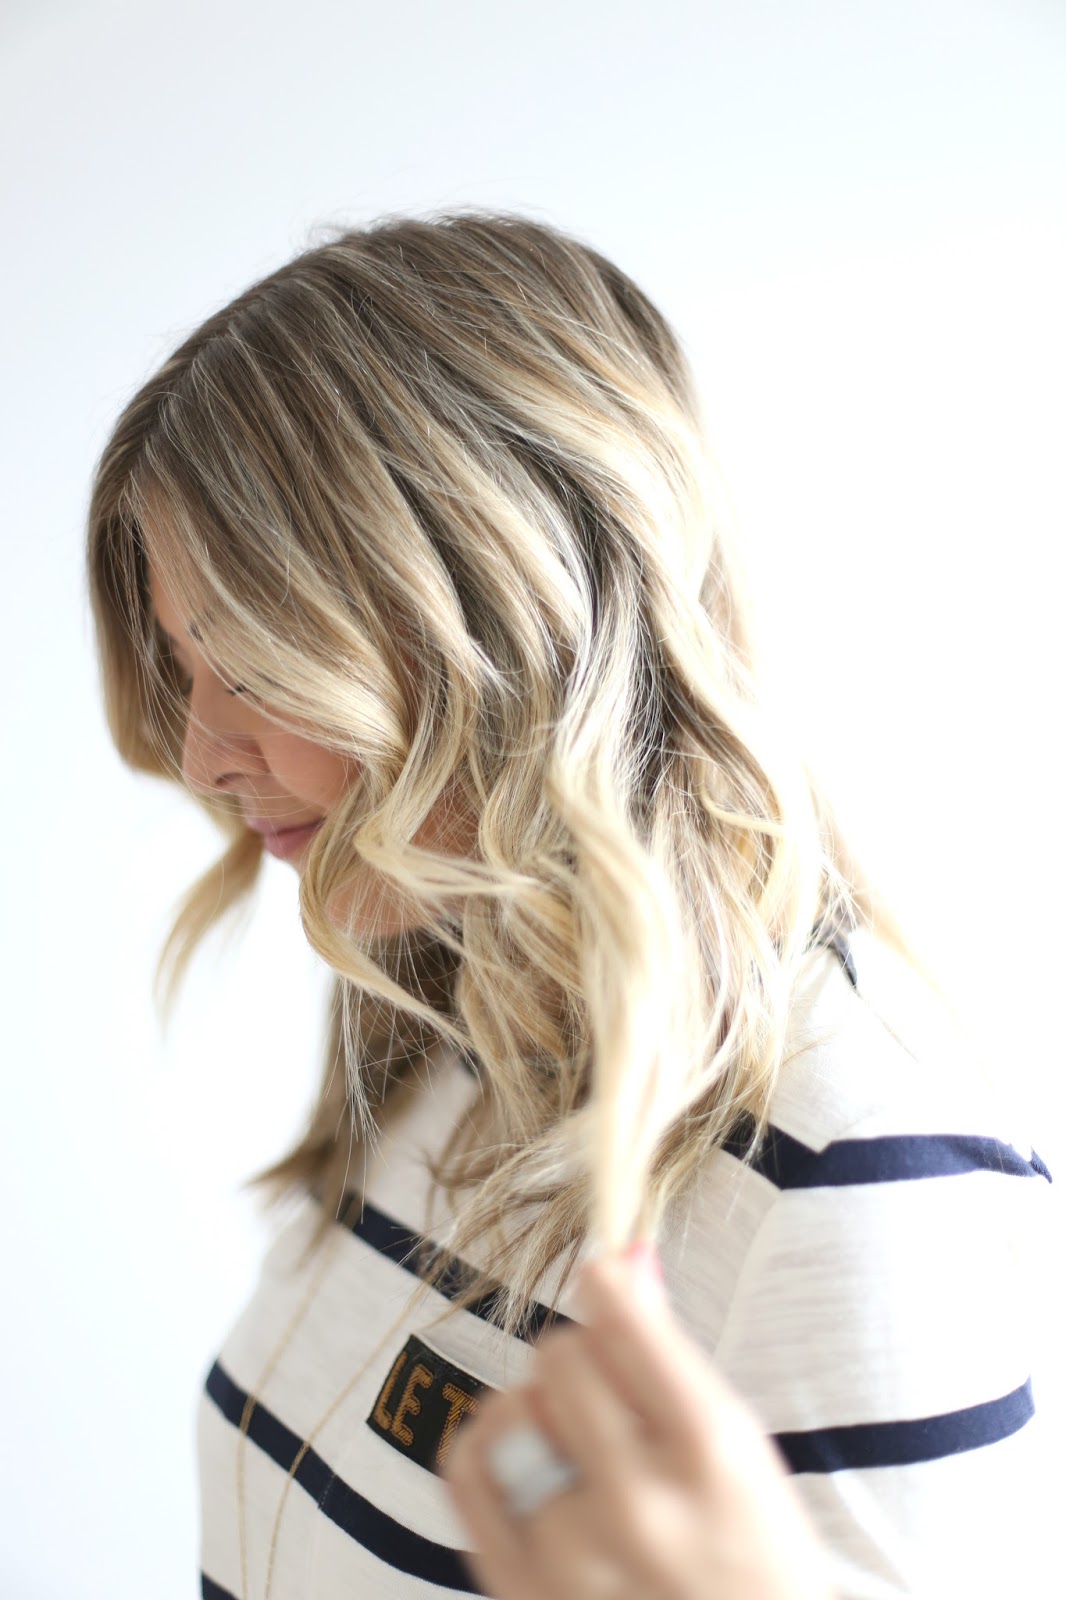
Professional products was created to assist in achieving the season’s biggest trend: glamorous yet effortless hair that doesn’t appear to be ‘too perfect’. I don’t know about you but I am loving this look for spring and is so much easier to create. The lineup is enriched with feather light minerals that high-octane shine that also provides grip and flexible hold for styles that last.
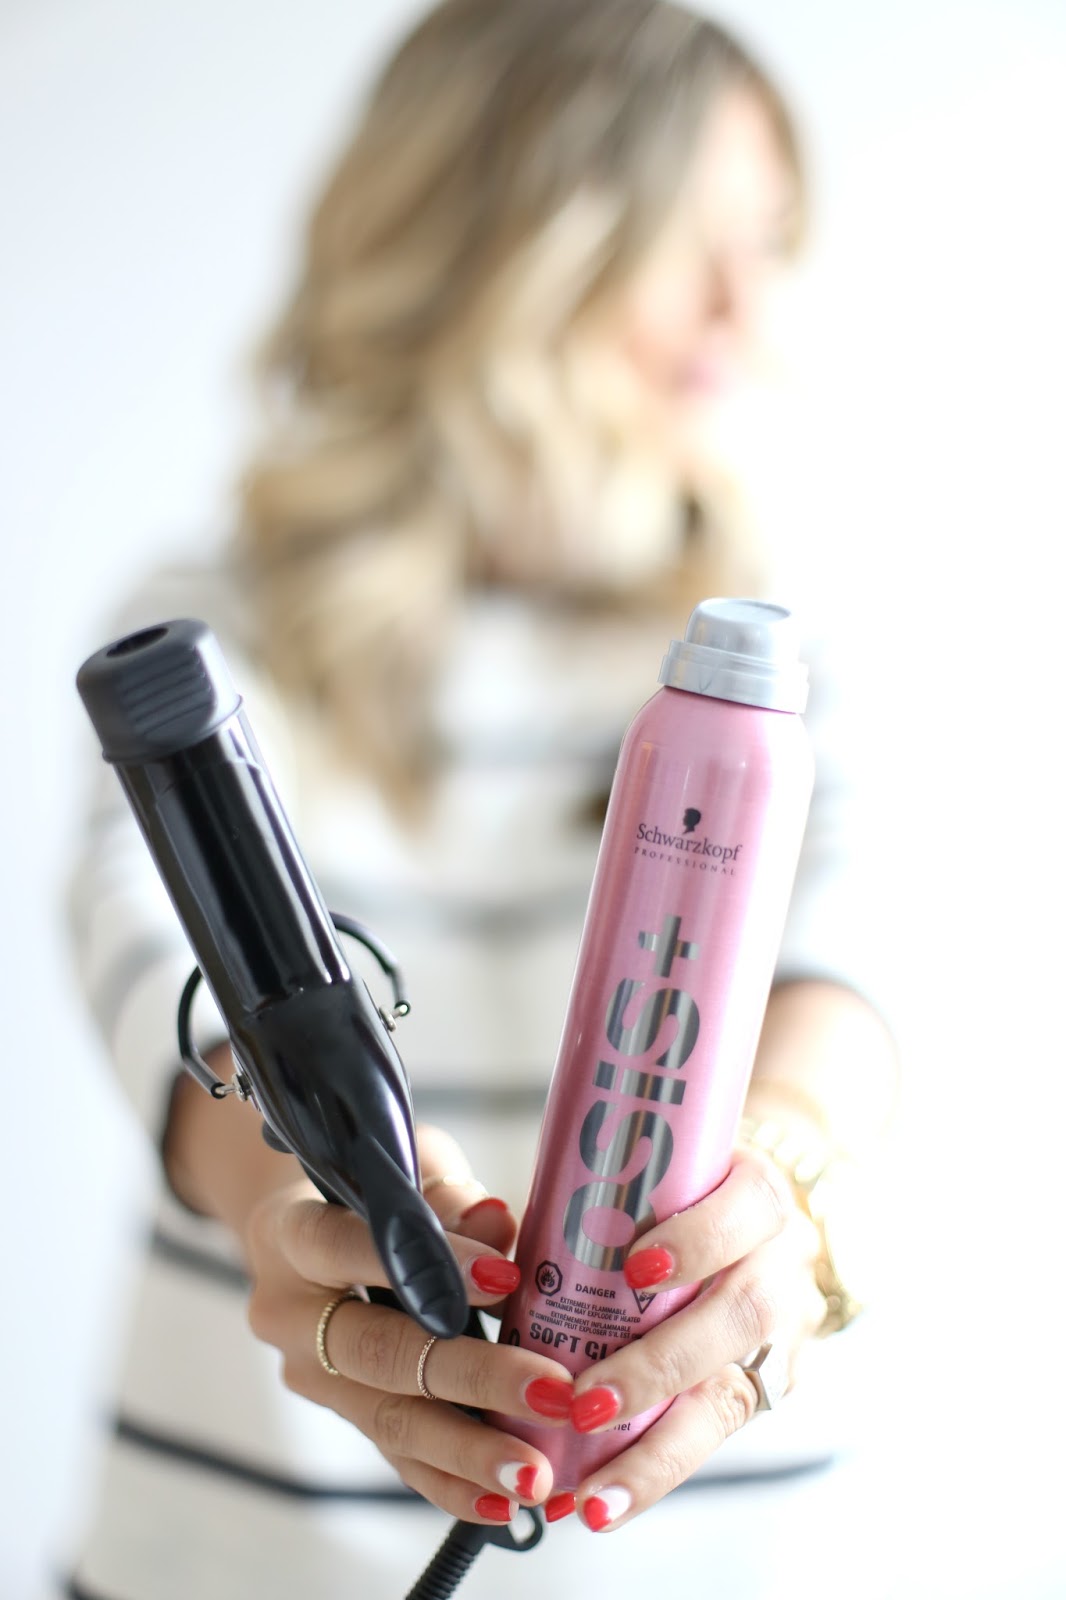
In addition the product lineup, I’m
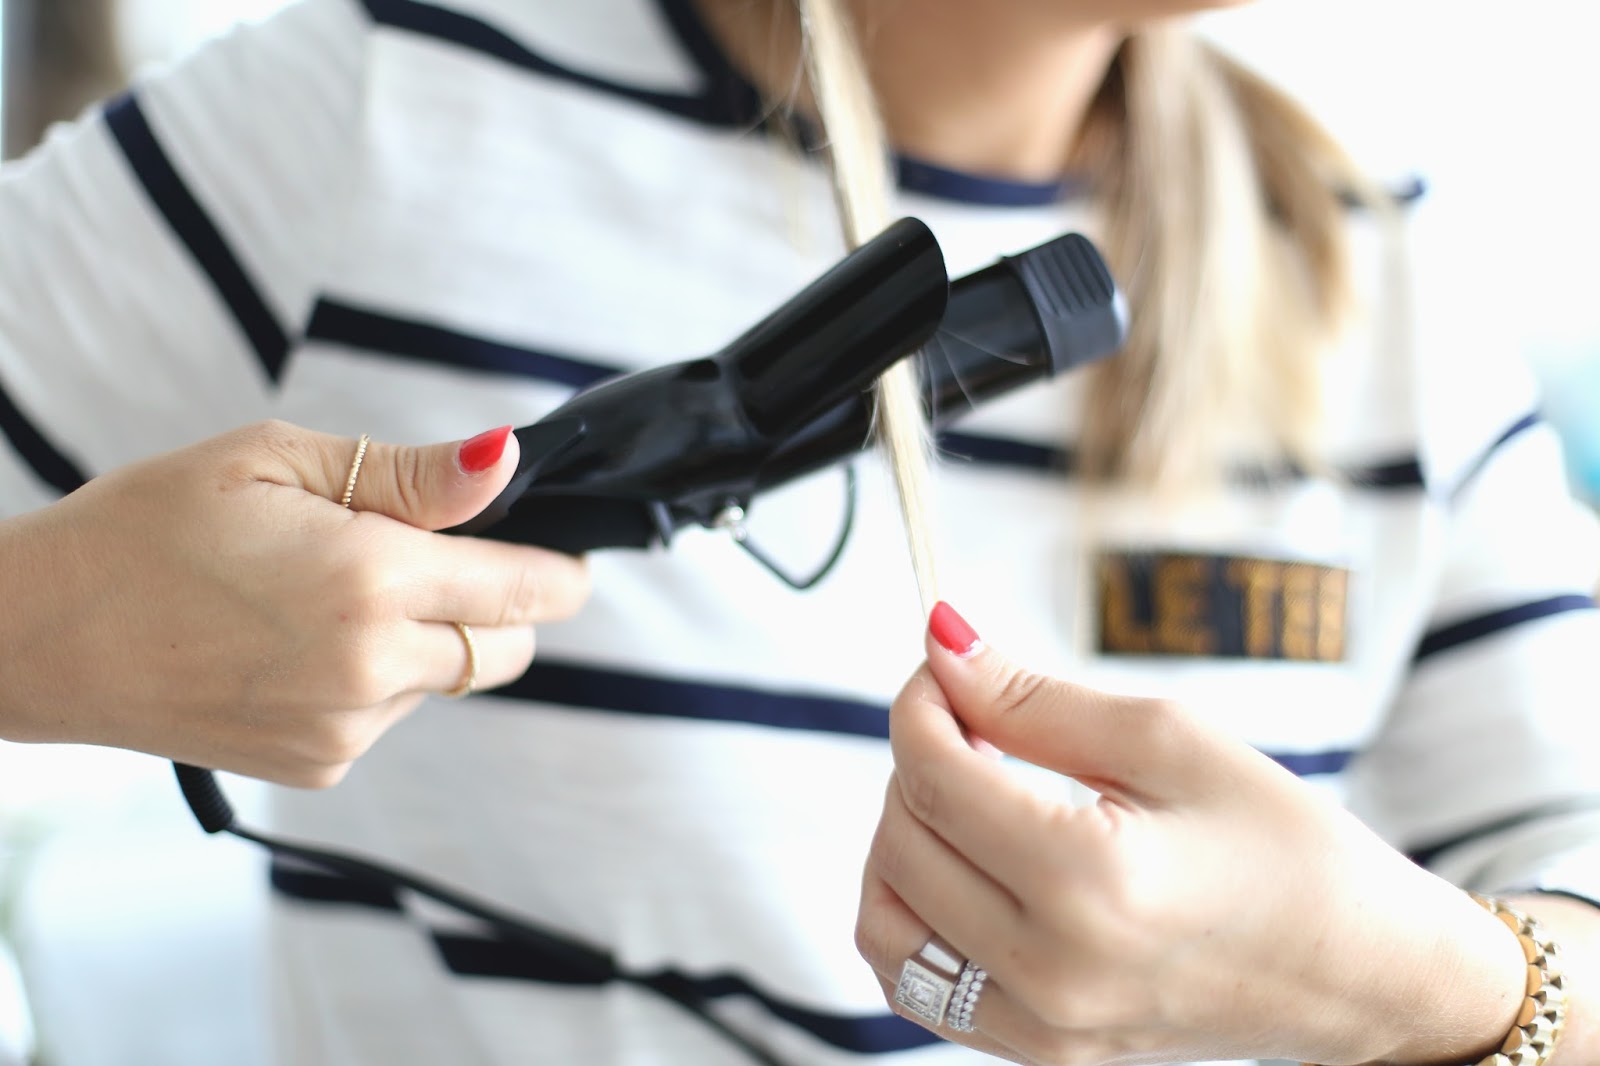
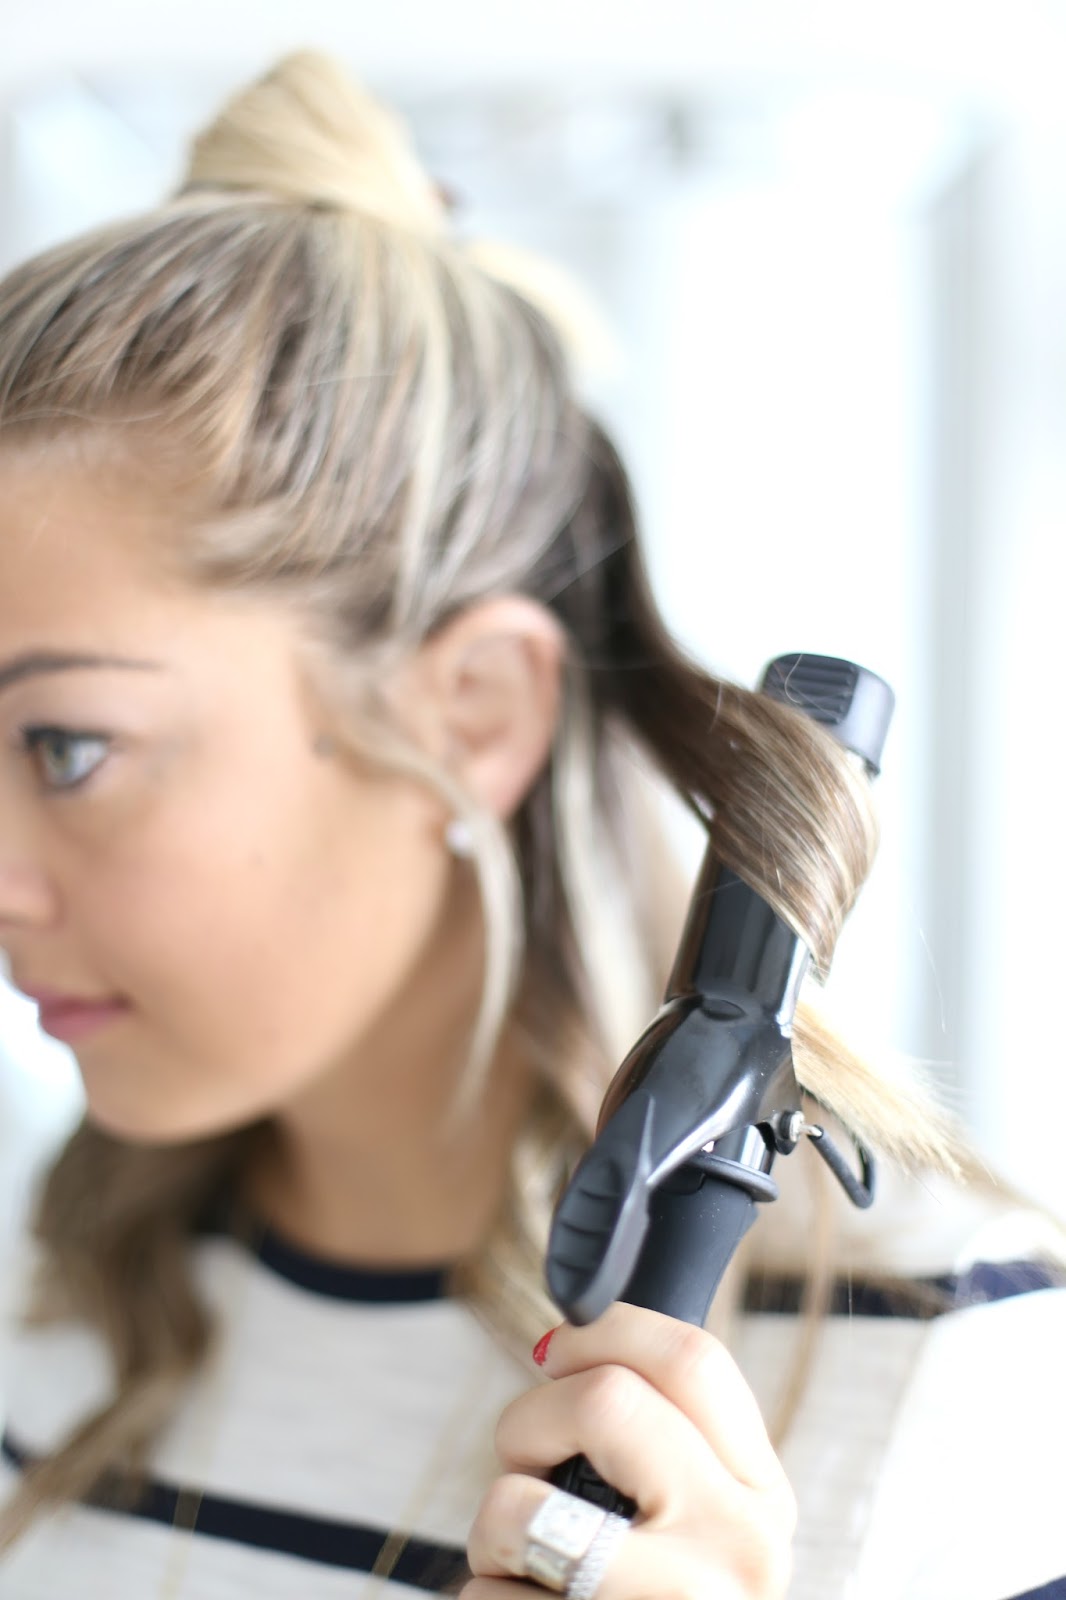
creating today’s look with the Schwarzkopf Professional Mini Curling Iron. Whether you’re rocking a lob and are looking for something smaller to assist with creating this look at home, or are a girl-on-the-go such as myself, this smaller sized curling iron not only works wonders but packs light. |
 |
|
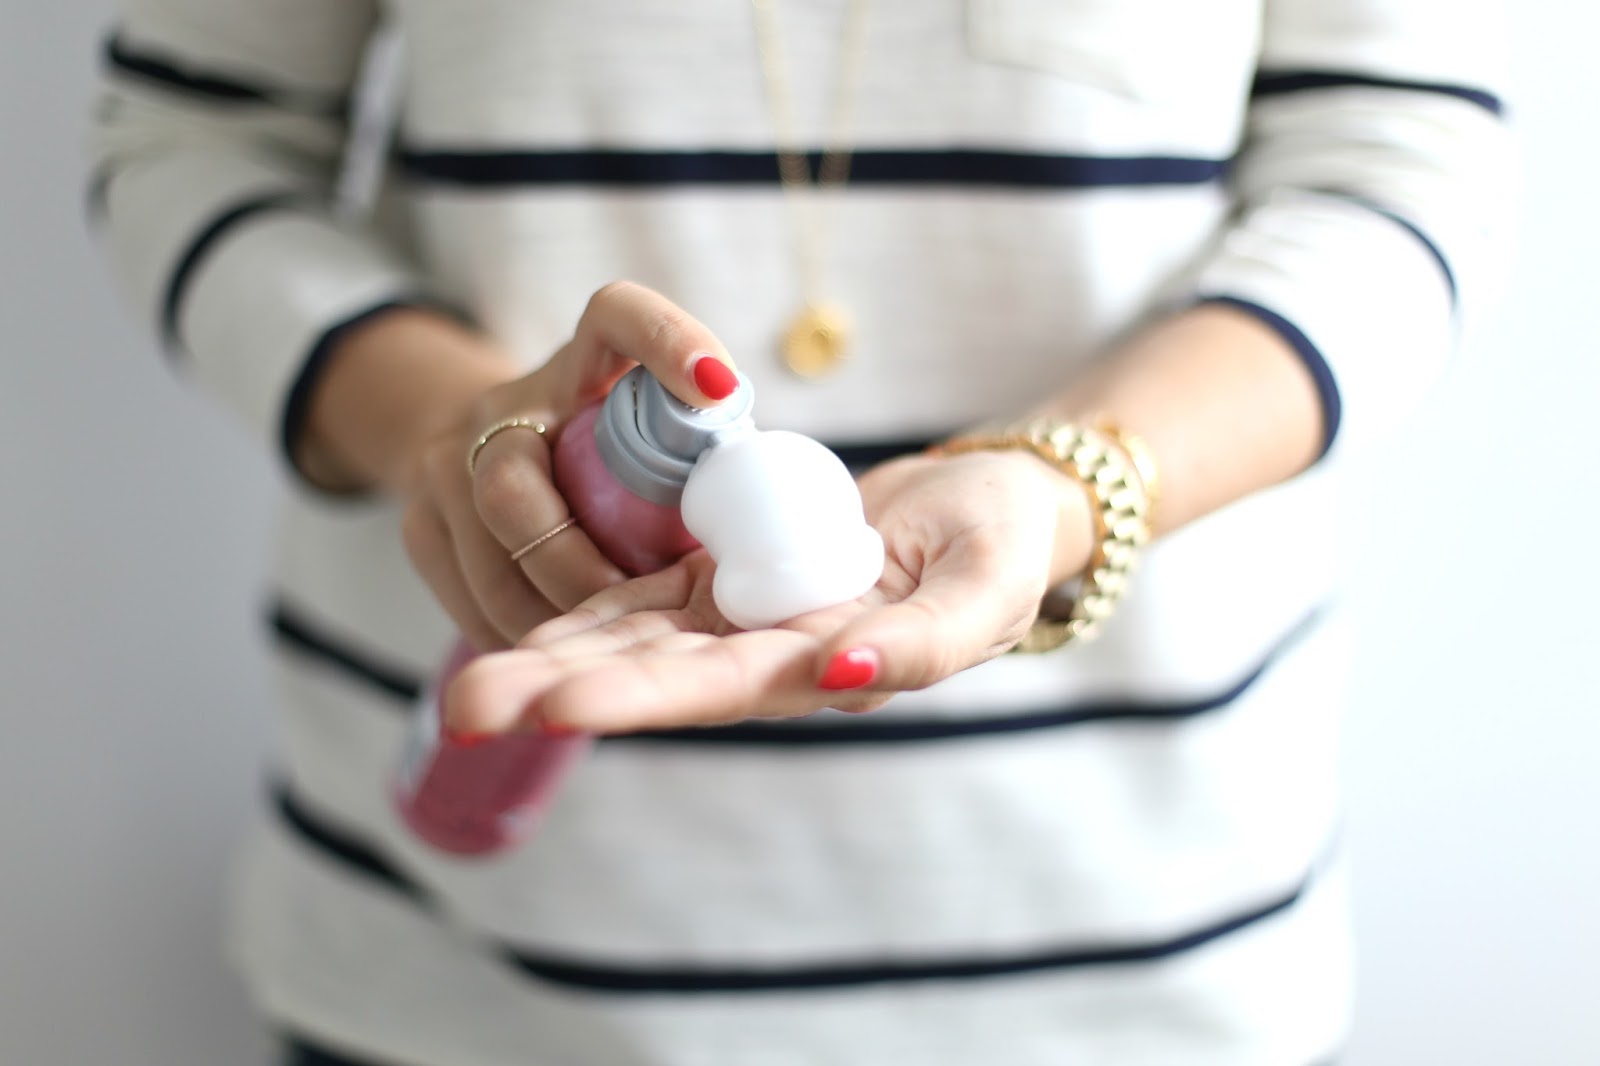
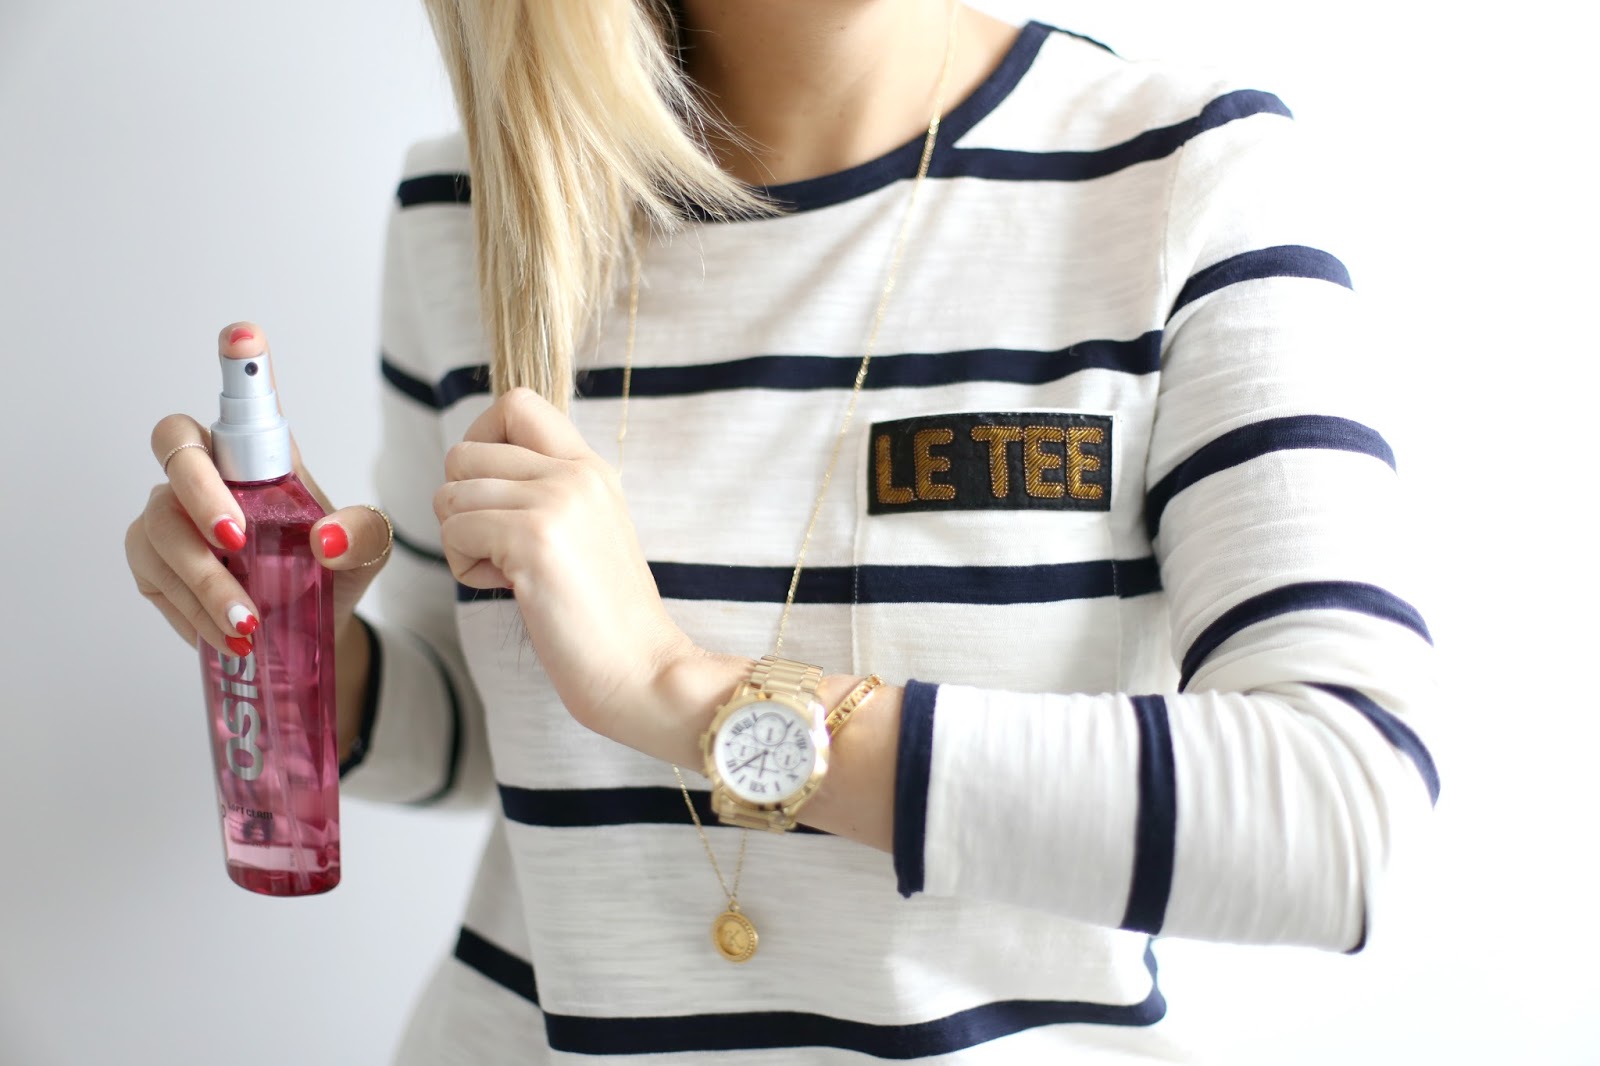
Step 1: Prep damp hair with Prime Prep Spray and work Plumping Shine Mousse through locks for
added volume. Set the product my blow-drying your hair. |
 |
|
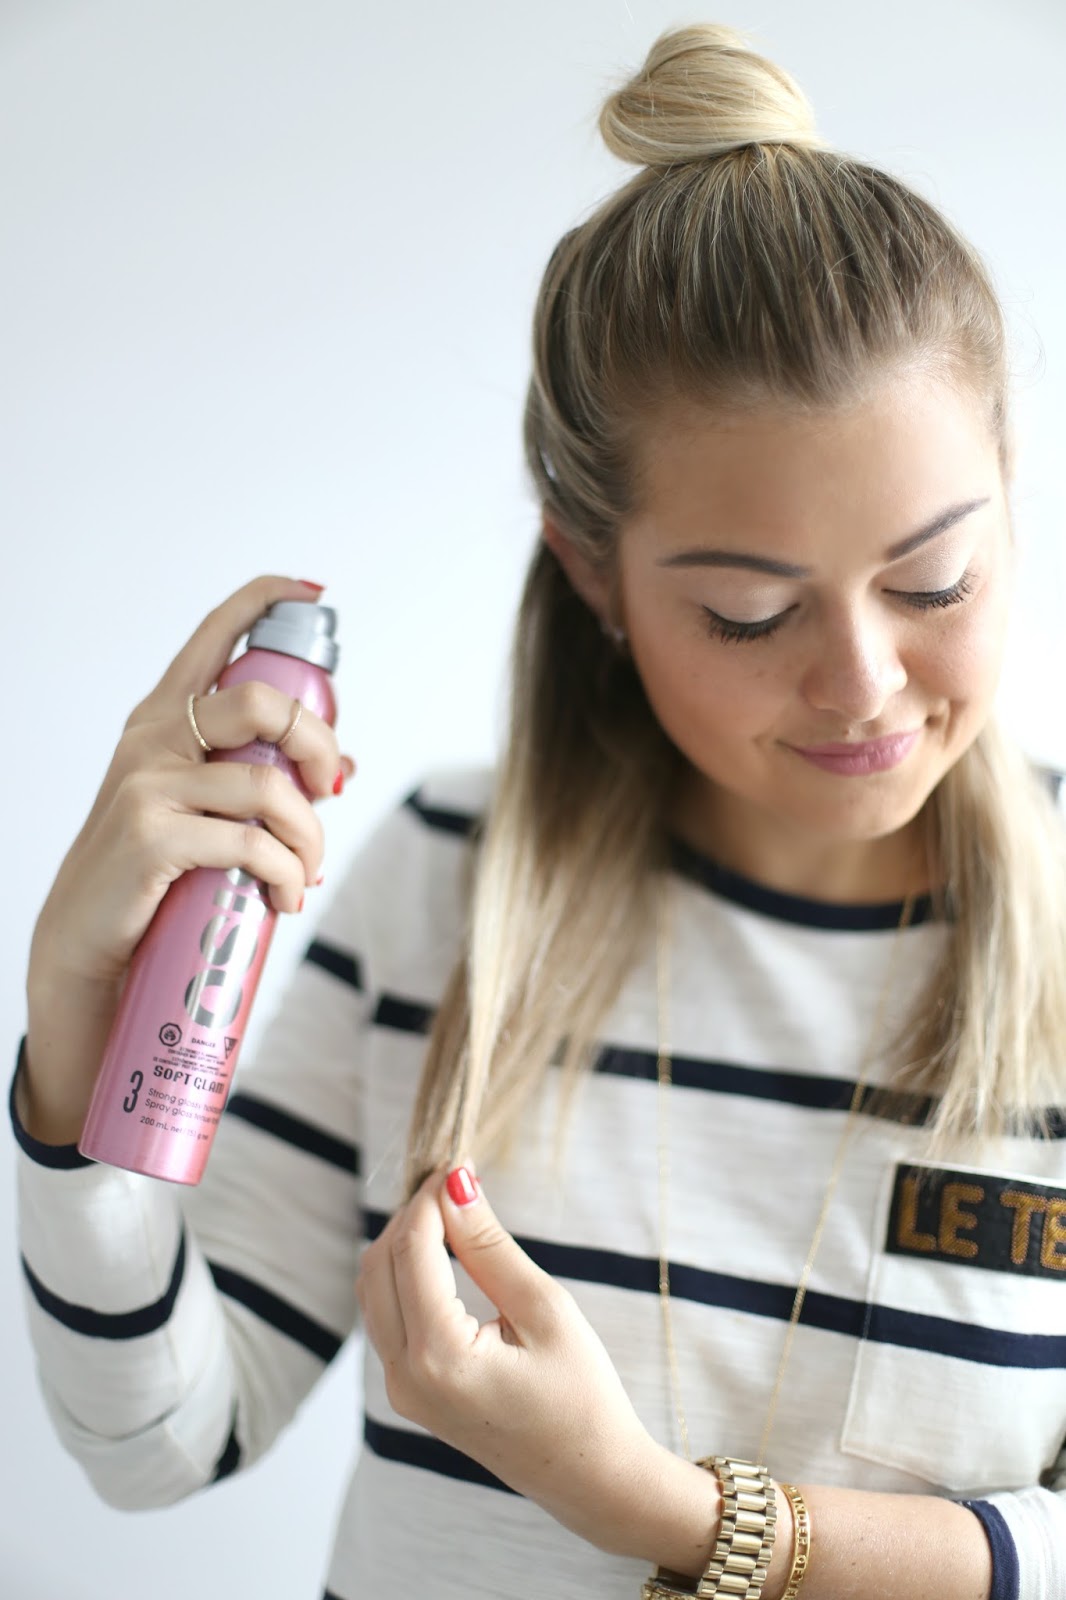
Step 2: Since I have thick hair, I section
my hair into 3 parts and typically work from the bottom up. Before curling, I like to prep my locks with a quick spray of the Strong Glossy Hairspray for extra hold. |
 |
|
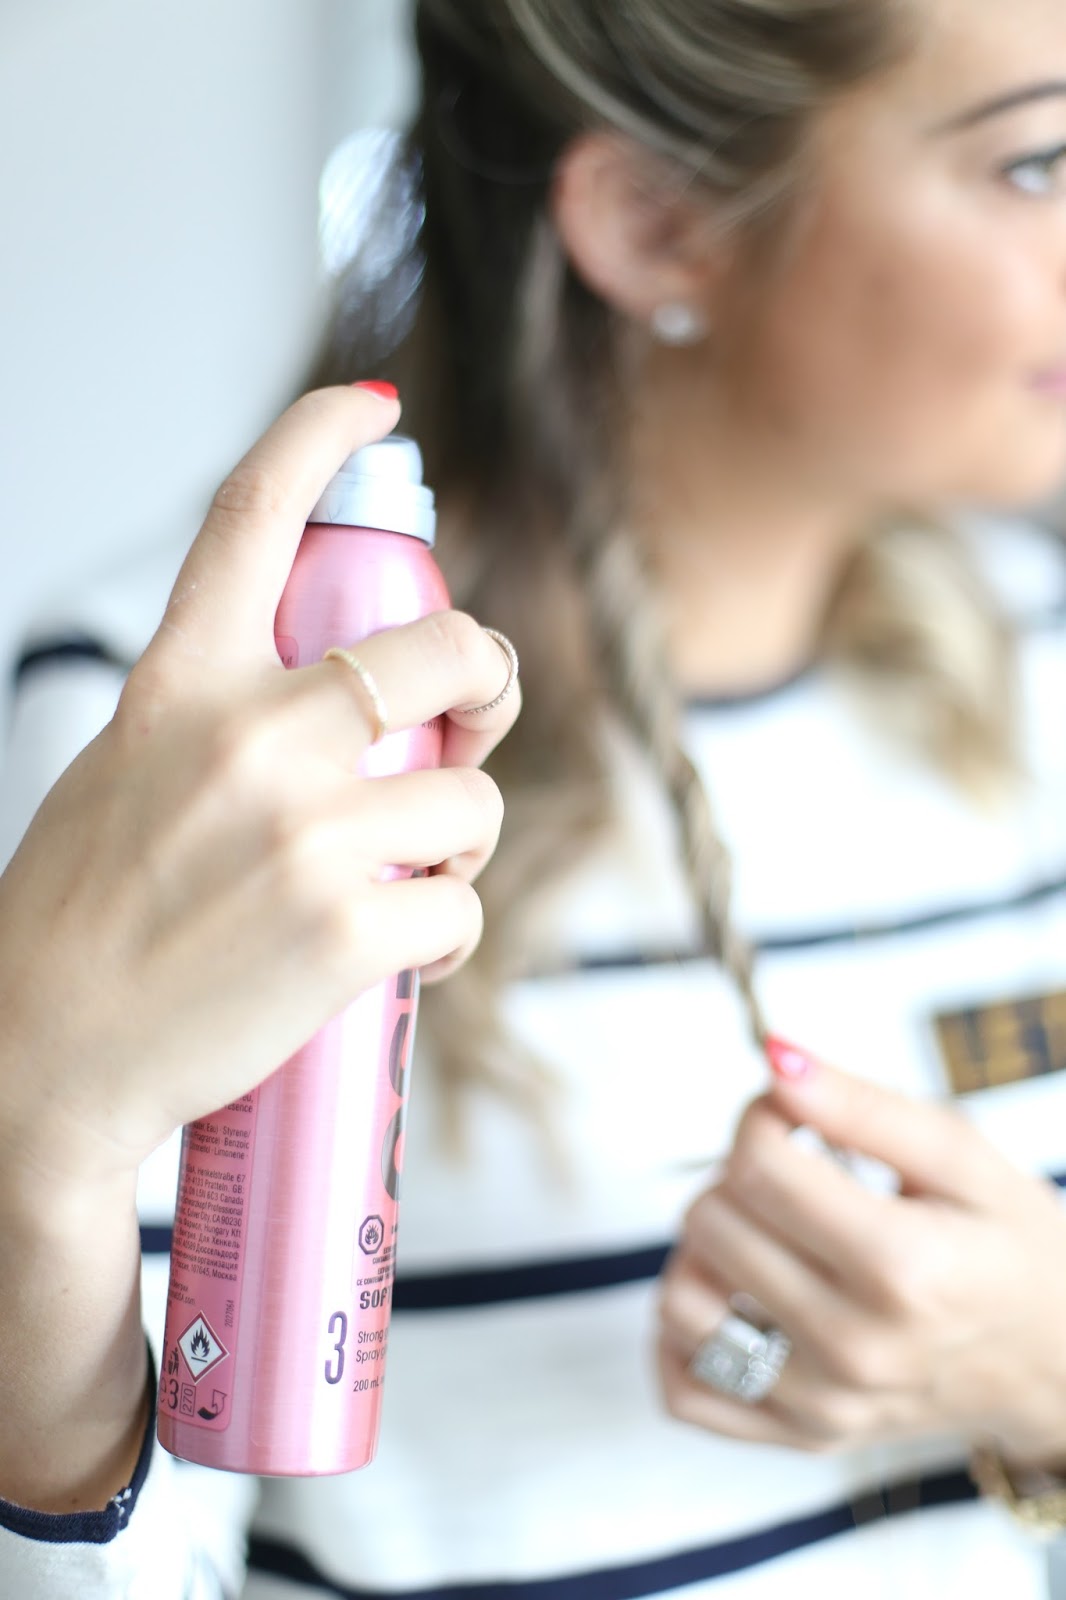
Step 3: Once I complete a section of hair,
I like to spray another mist of the StrongGlossy Hairspray over twisted sections for maximum hold. Complete this cycle for the other sections of hair. |
 |
|
Step 4: After the curling is completed, I
work my fingers through each section of hair to achieve that ‘effortless’ look. And because you can never have too much – wrap up with one last spray of the Strong Glossy Hairspray. |
 |
|
To achieve this look at home, find a salon
that carries Schwarzkopf Professional products in your area by clicking here. Any questions about the product line or tutorial? Feel free to leave a comment or question below :)
Also, if you’re not following already on Instagram, be sure to drop by today for a fun giveaway in collaboration with Schwarzkopf Professional.
Thanks to Schwarzkopf Professional for partnering on this post. All thoughts and opinions expressed are my own.
|

